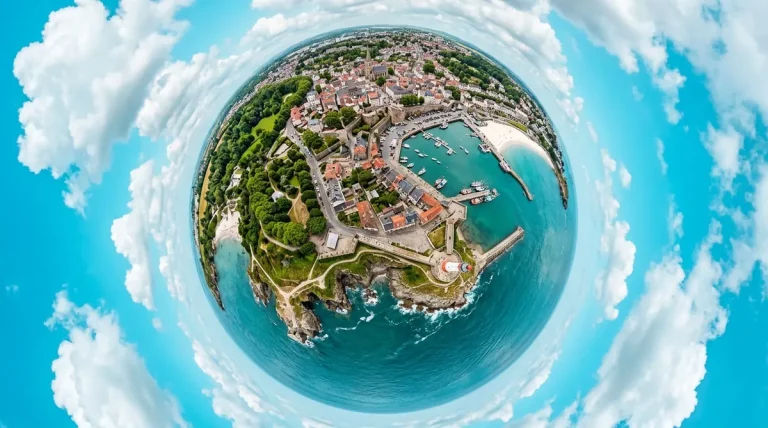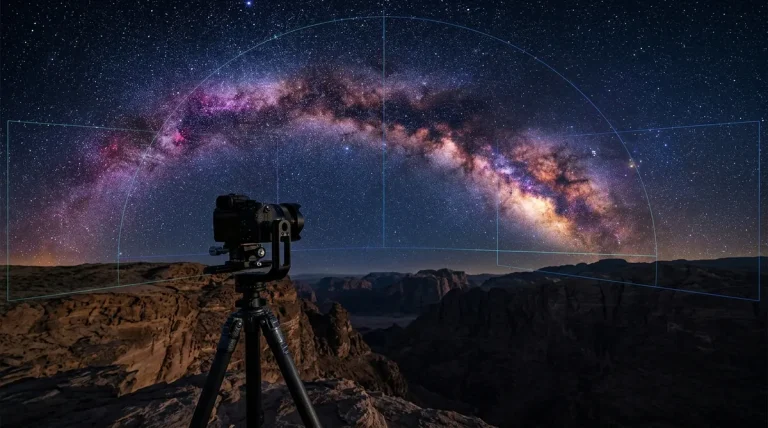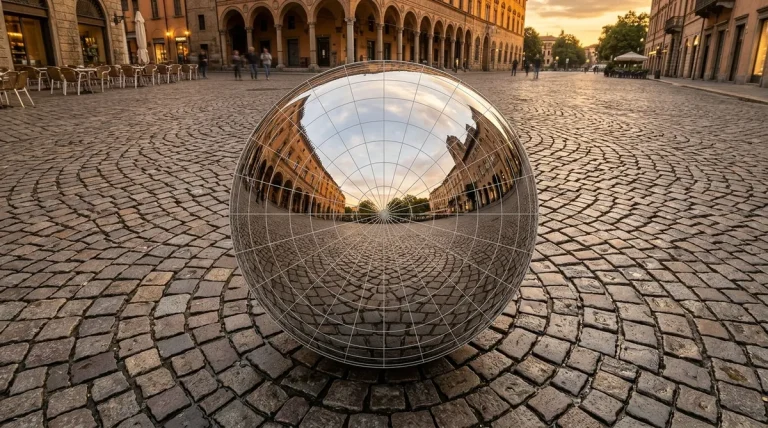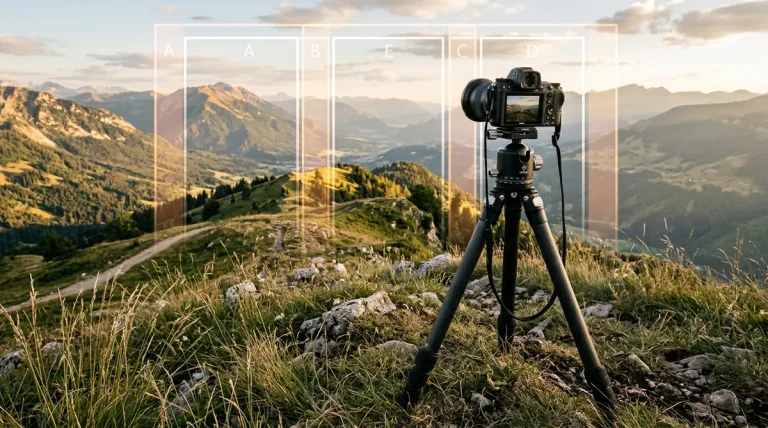
The Direct Answer: While DJI camera drones (Mavic 3, Air 3, Mini 4 Pro) feature an automated “Sphere Panorama” flight mode, the stitched image generated inside the DJI Fly app is heavily compressed, limited to low resolution (typically 4K to 8K JPEG), and leaves an unsightly blank hole at the zenith (top of the sky). To produce crystal-clear 12K–16K 360° spherical panoramas for real estate or virtual tours, you must copy the raw individual DNG files from your MicroSD card and stitch them on desktop software using PTGui Pro 13 or the free community classic Autopano Giga 4.4.2.
💡 The Professional Difference: An in-app DJI stitch produces an ~8-Megapixel compressed JPEG file with noticeable horizon distortion. Stitching the uncompressed 26-shot or 34-shot DNG bracket set on a computer yields a 120-Megapixel to 180-Megapixel 16-bit equirectangular master file with complete shadow recovery and pixel-sharp ground detail.
Why You Should Never Use the DJI Fly In-App Stitch for Client Work
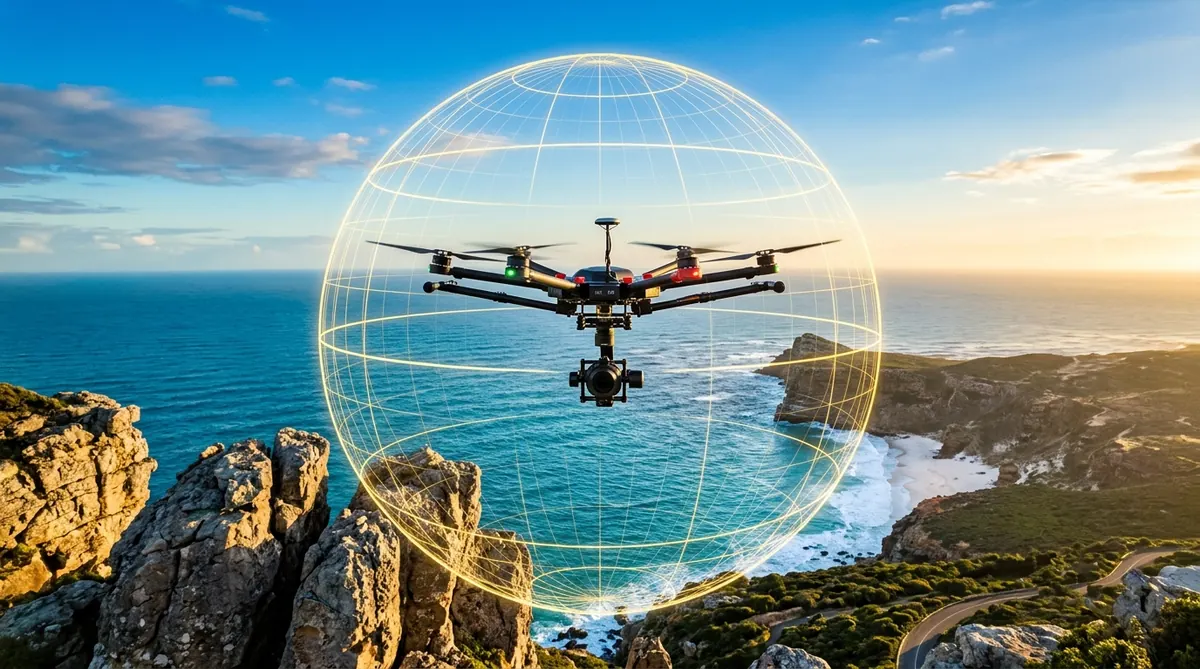
When you trigger the Sphere Panorama mode on any modern DJI drone, the aircraft hovers in place and rotates through an automated 3-tier raster grid (usually 26 or 34 individual exposures). Once finished, the DJI Fly app offers a quick preview stitch directly on your mobile device. For casual social media sharing, this preview is convenient, but for commercial production, it suffers from fatal flaws:
- Severe Dynamic Range Clipping: The phone app stitches from low-quality 8-bit JPEG frames. The sky near the sun blows out into ugly white digital clipping, while buildings and foliage on the ground turn into muddy black shadows.
- The Infamous Zenith Sky Hole: Because drone gimbal pitch angles are physically mechanically restricted (most cannot tilt upward beyond +35° or +60° without the camera colliding with the drone’s front arms and propellers), the top 15% to 25% of the spherical panorama is missing. The DJI app either inserts an artificial blurred gradient or leaves a jagged gray circle.
- Horizon Wave and Parallax Misalignment: In moderate winds (10–18 knots), the drone drifts slightly between shutter actuations. The phone’s lightweight stitching algorithm cannot reconcile non-nodal perspective shifts, creating zigzag horizon lines and severed roads.
- Aggressive Compression Artifacts: The in-app export is heavily compressed to under 10MB, obliterating fine architectural details, window frames, and roof shingles.
Camera Settings for Flawless Aerial Panorama Capture
Before launching your drone, configure these essential capture settings inside the DJI Fly or DJI Pilot 2 camera menu to ensure maximum data quality for your desktop stitcher:
| Setting | Recommended Value | Why It Matters |
|---|---|---|
| Image Format | RAW (DNG) or RAW + JPEG | Preserves 12-bit/14-bit linear sensor data for highlight and shadow recovery. |
| Exposure Mode | Manual (M) | Lock shutter speed and ISO. Auto-exposure will create harsh exposure seams as the drone turns into and away from the sun. |
| White Balance | Custom Kelvin (5500K Sunny) | Auto White Balance (AWB) shifts Kelvin temperatures between blue skies and green terrain, resulting in visible color banding. |
| Focus Mode | Manual Focus (MF) set to Infinity | Prevents autofocus hunting when tilting down toward uniform water or featureless rooftops. |
| Wind Conditions | Below 15 knots (17 mph) | Minimizes aircraft position drift between the top and bottom rows of the automated grid. |
Step-by-Step Desktop Stitching Workflow for DJI Raw DNGs
Follow this standardized 4-phase production workflow to convert raw drone files into a master 16K equirectangular image:
Retrieve Original DNG Frames from the MicroSD Card
Do not download photos via the DJI Fly smartphone app. Insert your drone’s MicroSD card into your computer’s card reader. Navigate to DCIM/PANORAMA/. Inside, you will see individual folders containing the 26 or 34 raw frames corresponding to each flight scan (e.g., 100_0001.DNG through 100_0034.DNG). Copy the entire folder to your local NVMe scratch drive.
Pre-Process and Color Match in Lightroom or Camera Raw
If you shot in high-contrast daylight, open the DNG set in Adobe Lightroom. Apply lens profile corrections, drop Highlights (-40 to -60) to rescue sky detail near the sun, and lift Shadows (+30 to +50). Synchronize these develop adjustments across all 26 or 34 frames so exposure remains completely uniform. Export the sequence as 16-bit ProPhoto RGB TIFFs (or import the DNGs directly into PTGui Pro 13).
Align and Optimize in Your Desktop Stitcher
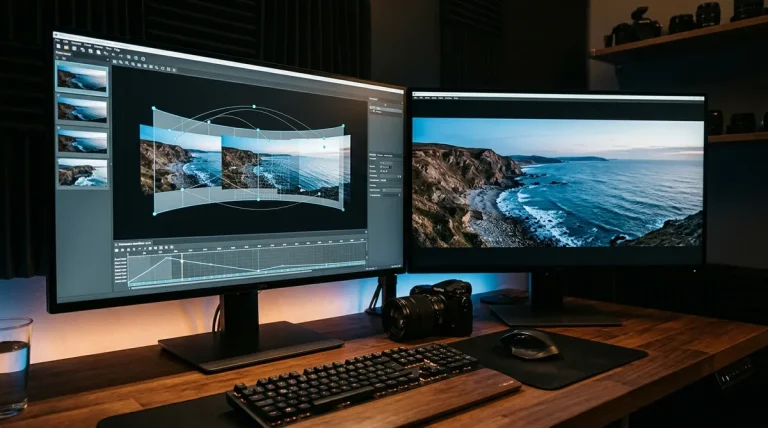
Launch your preferred stitching tool (PTGui Pro or Autopano Giga). Drag the folder of images directly into the workspace. The software will detect the camera focal length and sensor crop from EXIF metadata. Click Align Images. The optimizer analyzes thousands of feature points across overlapping frames, automatically leveling the horizon.
Level Horizons and Inspect Seams
Open the interactive Panorama Editor. Press the Straighten or Level Horizon button to ensure ground lines are perfectly horizontal. In coastal scenes or windy conditions where clouds or water moved during capture, check the seam boundaries to verify that cars on highways or boats on lakes are not duplicated.
How to Fix the Zenith Sky Hole in Drone Spheres
Because no consumer drone can physically aim its camera 90° straight up into the zenith without imaging its own body, your raw stitched sphere will possess an empty upper pole. Below are the three proven methods to seal the zenith sky hole:
Method 1 — Photoshop Generative Fill
Export the stitched 360 sphere as a 2:1 equirectangular TIFF. Open it in Adobe Photoshop. Use the Rectangular Marquee tool to select the empty transparent band across the top of the canvas. Type “seamless matching blue sky with natural sunlight gradient” into Generative Fill. Photoshop seamlessly synthesizes cloud wisps and realistic atmosphere.
Method 2 — Ground Sky Replacement Bracket
Before launching your drone, stand in the takeoff area with your smartphone or mirrorless camera fitted with an ultra-wide lens. Point straight up and take 2–3 overlapping photos of the sky above. In PTGui Pro, add these images to your project and assign them as zenith patch layers.
Method 3 — PTGui Pro Inpainting & Clamping
In clear blue sky conditions with zero cloud texture, PTGui Pro’s blending engine can clamp the uppermost pixel rows and extrapolate an uninterrupted gradient up to +90° elevation, requiring zero manual Photoshop painting.
Top Stitching Software for Drone Panoramas Compared
Selecting the right desktop software determines how smoothly your multi-row aerial grids assemble:
| Stitching Tool | Stitching Speed | Moving Cloud Handling | Zenith Handling | 2026 Price |
|---|---|---|---|---|
| PTGui Pro 13 | Ultra-Fast (GPU Metal/CUDA) | Red/Green Masking | Zenith extrapolation tool | €199 (Perpetual) |
| Autopano Giga 4.4.2 | Moderate (Multi-threaded CPU) | SmartBlend (Best in class) | Manual Photoshop patch needed | 100% Free (Official Key) |
| Hugin (2024/2025) | Slower (CPU Enblend bottleneck) | Enblend multi-spline | Manual control points needed | 100% Free (GPL v2) |
Troubleshooting Common Drone Stitching Errors and Ghosting
When stitching multi-tier aerial grids, three distinct anomalies frequently occur. Here is how to diagnose and resolve them:
- Double Horizons (Wind Drift Parallax): If the horizon line appears broken or stepped in two places, the drone was pushed horizontally by wind between the top and middle tiers. Open the Control Points tab, delete control points located on nearby swaying treetops or close structures, and generate control points strictly along distant mountain ranges or high-contrast roads.
- Cloud Ghosting & Edge Seams: Clouds drift rapidly during a 60-second automated drone sweep. If you notice double clouds, use PTGui Pro’s Masking tool: paint red over the duplicate cloud edge on one frame and green over the preferred shape on the adjacent frame. If using Autopano Giga, set the Anti-ghosting algorithm to SmartBlend (Strong).
- Dark Ring at the Nadir (Direct Downward Shot): When the drone points its camera -90° straight down at the ground, propeller shadows or the drone’s landing gear can clip the top edge of the frame. Inspect frame #26 or #34, crop away the propeller shadow edge, and recalculate the blend.
Frequently Asked Questions About Drone Panorama Stitching
How many photos does a DJI drone take for a full 360 panorama?
Most modern DJI drones (Mavic 3 Pro, Air 3, Mini 4 Pro, Air 2S) capture 26 or 34 individual exposures arranged in 3 horizontal rows plus a straight-down nadir shot. Older models like the Phantom 4 Pro take 26 to 34 shots depending on lens field of view.
Can I publish a drone panorama directly to Google Street View?
Yes, provided the output is a 2:1 equirectangular JPEG with a resolution of at least 4K (and preferably 8K or higher). Platforms like CloudPano and Pano2VR offer direct API sync to publish aerial nodes to Google Maps and Street View.
What maximum resolution can I achieve from drone stitching?
Stitching a 26-shot or 34-shot RAW set from a 20MP sensor (like the Mavic 3 series) typically yields an equirectangular image between 12,000 × 6,000 pixels (12K) and 16,384 × 8,192 pixels (16K), providing stunning zoom clarity inside interactive web tours.
Why do my drone panoramas look curved or bowl-shaped?
A curved or “smiling” horizon occurs when the pitch and roll parameters are not properly leveled in your stitcher. In PTGui or Autopano Giga, ensure you select the Equirectangular projection and use the leveling tool to set horizontal line constraints across the horizon line.
Can Autopano Giga 4.4.2 still stitch modern drone RAW files?
Yes, but because Kolor ceased development in 2018, you should first batch convert your drone’s DNG files to 16-bit TIFFs in Adobe Lightroom or Camera Raw, then import the TIFFs into Autopano Giga for automated SIFT alignment and SmartBlend processing.