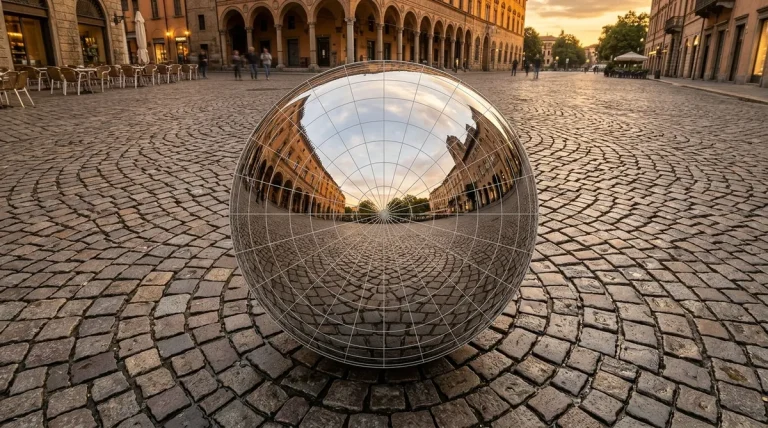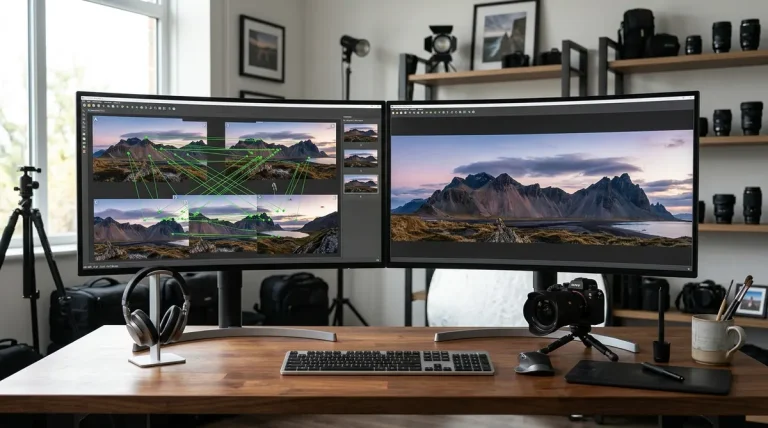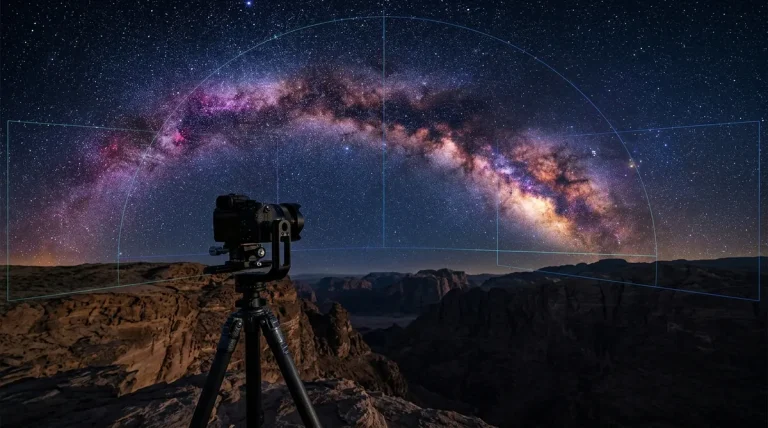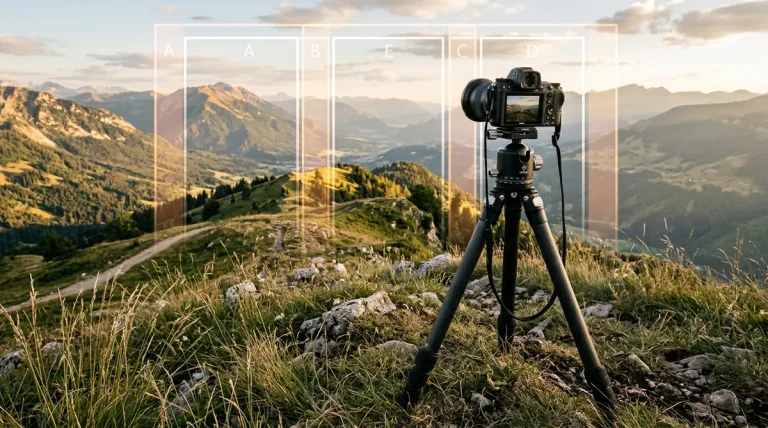
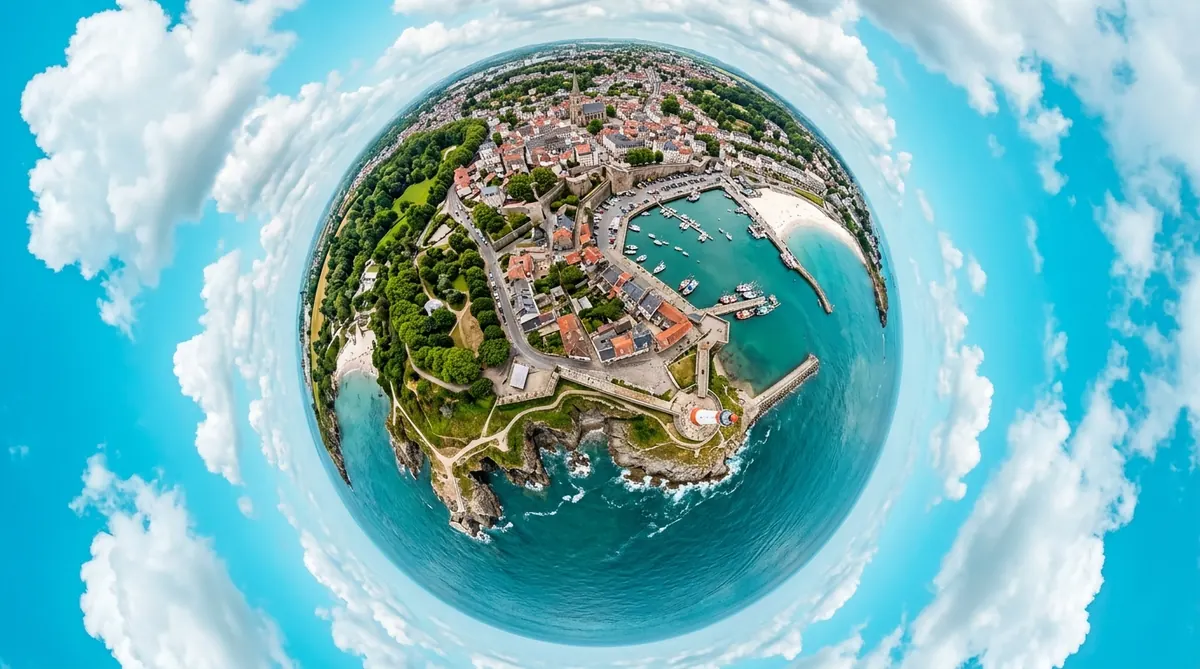
Few creative formats capture attention on social media and fine art prints quite like a Tiny Planet (technically known in cartography and optics as a stereographic polar projection). By curving a full 360-degree by 180-degree spherical panorama into a self-contained celestial orb, you transform everyday city squares, coastlines, and mountain summits into miniature, self-contained globes where skyscrapers radiate outward into space.
The Fast Answer: There are two distinct ways to make a tiny planet: Method 1 (Highest Quality) is rendering a stereographic projection directly inside your panorama stitcher (Autopano Giga or PTGui Pro), which calculates ray-traced spherical geometry with zero pixel interpolation blur. Method 2 (Fastest Retouching) is using Adobe Photoshop: take any stitched 2:1 equirectangular image, unconstrain it into a 1:1 square canvas (Image → Image Size), flip it upside-down (Image → Image Rotation → 180°), and apply Filter → Distort → Polar Coordinates → Rectangular to Polar.
- 1. Understanding the Geometry of Stereographic and Polar Projections
- 2. Method 1 — Direct Little Planet Projection in Autopano Giga or PTGui
- 3. Method 2 — Photoshop and Affinity Photo Polar Coordinates Workflow
- 4. Creating an Inverted Rabbit Hole Planet from the Same Panorama
- 5. Field Photography Secrets for Flawless Tiny Planet Compositions
- 6. Retouching the Zenith Pinch Point and Nadir Seam Artifacts
- 7. Frequently Asked Questions
Understanding the Geometry of Stereographic and Polar Projections
To produce a clean, aesthetically pleasing tiny planet without harsh seam tears or egg-shaped distortions, you need to understand the underlying optical mathematics.
A standard 360° panoramic photograph is stored in an equirectangular projection with a strict 2:1 aspect ratio (for example, 12,000 pixels wide by 6,000 pixels tall). In this layout:
- The horizontal X-axis maps the full 360 degrees of compass heading (−180° to +180° yaw).
- The vertical Y-axis maps 180 degrees from the zenith straight up (+90° pitch) down to the nadir ground directly beneath the tripod (−90° pitch).
- The far-left edge of the image wraps around and touches the far-right edge in physical space.
When you convert an equirectangular image into a tiny planet, you wrap the horizontal axis into a continuous 360-degree circle. The bottom edge of the image (the nadir ground) is compressed into the center of the sphere, while the top edge of the image (the sky and clouds) is stretched around the outer circumference. Conversely, if you invert the orientation, the sky collapses into a central singularity while the ground radiates outward, producing an architectural Rabbit Hole or Inverted Tunnel.
| Rendering Method | Underlying Math | Optical Sharpness | Horizon / Rotation Control | Required Source Image |
|---|---|---|---|---|
| Native Stitcher Stereographic (Autopano Giga / PTGui) | True 3D ray-traced spherical projection from raw source frames | Maximum (Single sampling pass, 100% sharp) | Continuous 360° pitch, roll, yaw, and FOV sliders | Original stitched project or 2:1 equirectangular master |
| Photoshop Polar Coordinates (Adobe Photoshop) | 2D matrix transformation warping a rasterized square image | Slight softening near center pinch point | Requires manual image rotation and canvas resizing | Flattened 2:1 JPEG or 16-bit TIFF |
| Affinity Photo Live Projection (Affinity Photo 2) | Live interactive non-destructive spherical projection layer | High (Real-time GPU sampling) | Interactive canvas navigation and live painting | 2:1 Equirectangular image layer |
| Mobile 360 Camera App (Insta360 Studio / Theta) | Real-time WebGL / Metal shader pipeline | Good (Optimized for social media sharing) | Touch drag, keyframed video animations | Dual-fisheye RAW or stitched 360 photo |
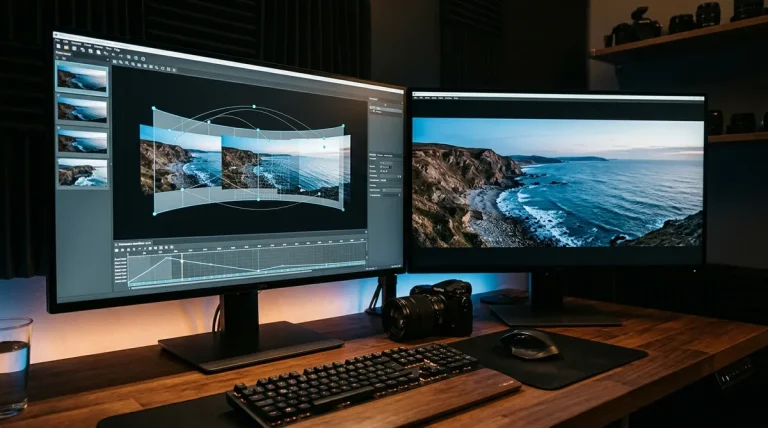
Method 1 — Direct Little Planet Projection in Autopano Giga or PTGui
The method preferred by fine art landscape photographers and commercial gigapixel shooters is rendering the stereographic projection directly from the panorama stitching software. Because the stitcher calculates the stereographic curve during the initial blending pass, you avoid the pixel degradation caused by re-sampling an already compressed JPEG.
1 Open the Panorama in the Interactive Editor
After detecting and aligning your multi-row panorama in Autopano Giga or PTGui Pro, click the Edit button to launch the visual panorama editor.
2 Switch Projection to Stereographic / Little Planet
In the projection selector dropdown, locate the spherical projection family:
- In Autopano Giga: In the projection menu on the top toolbar, select Little Planet (or press the projection shortcut). Autopano will instantly curve the horizon into a globe.
- In PTGui Pro: Switch the projection dropdown to Stereographic. Then, open the Numerical Transform panel and pitch the camera 90 degrees downward (−90° pitch) so that your view points straight at the ground.
3 Fine-Tune Field of View and Planet Diameter
Adjust the Field of View (FOV) slider. A wider field of view (between 260° and 300°) expands the sky and pulls surrounding trees and buildings into dramatic outward radiating angles. A narrower FOV (180° to 220°) keeps structures more upright and compact.
4 Rotate Yaw to Position Your Key Subject
Use the Yaw slider (or drag the canvas with your mouse) to rotate the planet. Position your most prominent subject—such as a historic tower, mountain peak, or setting sun—at the top center (“12 o’clock”) of the frame for optimal visual balance.
5 Render in 16-Bit TIFF Format
Click the Render gear icon. Choose uncompressed 16-bit TIFF and select a high square resolution (e.g., 8,000 × 8,000 pixels). This delivers pristine image quality for color grading in Lightroom or Photoshop.
Method 2 — Photoshop and Affinity Photo Polar Coordinates Workflow
If you already have a finished, stitched 2:1 equirectangular panorama and do not want to reopen your stitching software, you can convert it in under 60 seconds using Adobe Photoshop or Affinity Photo 2.
1 Square the Canvas (Unlink Constrain Proportions)
Open your 2:1 panorama (for example, 12,000 × 6,000 px). Navigate to Image → Image Size. Click the chain link icon to uncheck Constrain Proportions. Change the Height to match the Width (make it 12,000 × 12,000 px). The image will appear vertically stretched and distorted—this is mathematically correct.
2 Rotate the Image 180 Degrees Upside Down
Navigate to Image → Image Rotation → 180°. This places the ground at the top of the canvas and the sky at the bottom. Because the Polar Coordinates filter wraps the top edge toward the outer perimeter and the bottom edge toward the center, flipping the image ensures that the ground forms the core of your planet.
3 Execute Polar Coordinates Filter
Navigate to Filter → Distort → Polar Coordinates. In the dialog box, select Rectangular to Polar and click OK. Your rectangular panorama will immediately fold into a circular miniature planet surrounded by sky.
4 Crop to Circle or Maintain Square Frame
The outer perimeter will contain sky elements filling the square bounds. You can keep the square crop for Instagram and print, or use the Elliptical Marquee tool to isolate the planet on a transparent background.
Creating an Inverted Rabbit Hole Planet from the Same Panorama
An equally striking alternative to the Tiny Planet is the Inverted Tunnel (or Rabbit Hole). Instead of standing on the outside of a globe looking outward into the universe, the viewer feels as if they are suspended inside a cylindrical sinkhole or viewing an architectural courtyard from deep below.
How to Create a Rabbit Hole in Photoshop: Follow the exact same Photoshop workflow above, but skip Step 2 (do NOT rotate the image 180 degrees). When you apply Filter → Distort → Polar Coordinates → Rectangular to Polar directly on the right-side-up squared panorama, the sky collapses into a dramatic central vortex while your buildings, trees, and ground circle around the outer perimeter.
Rabbit Hole projections work exceptionally well in dense urban environments with towering skyscrapers (like Manhattan, Tokyo, or London), dense redwood forests where canopy trees converge overhead, and historic cathedrals featuring ornate vaulted domes.
Field Photography Secrets for Flawless Tiny Planet Compositions
A spectacular tiny planet begins in the field during the capture stage. Not every 360-degree panorama makes a compelling globe. Follow these practical shooting rules to guarantee captivating results:
- Level the Horizon Before Shooting: If your camera pitch rolls or tilts across shots, your planet will turn out lopsided or egg-shaped. Always level your tripod base using a spirit bubble or leveling head, as detailed in our panoramic tripod head guide.
- Ensure Equal Horizon Height: For the most harmonious circular shape, compose your camera so the horizon line rests exactly in the middle third of the vertical frame. If the camera is angled too high, the planet’s core will be tiny with an overwhelming expanse of sky.
- Isolate Prominent Vertical Subjects: Structures that stand tall against the horizon—such as lighthouses, lone trees, church spires, or architectural monoliths—fan out like spokes on a wheel in a stereographic projection, creating dramatic radial lines.
- Remove the Tripod from the Nadir: Because the nadir ground forms the very center of your planet, a visible tripod head or photographer’s feet will ruin the illusion. Follow our complete tutorial on how to remove the tripod from 360 photos before wrapping the projection.
Retouching the Zenith Pinch Point and Nadir Seam Artifacts
When you transform 2D pixels into polar coordinates, two geometric artifacts commonly occur: the 12 o’clock vertical seam line and the central zenith pinch point.
| Artifact Type | Visual Symptom | Root Cause | Recommended Photoshop Fix |
|---|---|---|---|
| Center Pinch Point | A swirling starburst or pinch artifact directly in the middle of the sky | All top pixels of the equirectangular image compressed into a single coordinate point | Use Content-Aware Fill, Generative Fill, or a soft Healing Brush to sample adjacent sky tones and blend the center smooth. |
| Vertical Seam Tear | A hard vertical line running from the planet’s core to the outer edge at 12 o’clock | Exposure or color mismatch between the far-left (0°) and far-right (360°) edges of the original pano | Before running Polar Coordinates, apply an Offset filter (Filter → Other → Offset by +50% width) and blend the center seam with a clone stamp. |
| Nadir Edge Distortion | Ground textures appearing excessively stretched or blurry at the outer rim | Polar Coordinates stretching lower pixels across an expansive circumference | Use a high-resolution source panorama (minimum 10,000 px wide) or render directly via native stereographic projection in Autopano Giga. |
Frequently Asked Questions
Can I create a tiny planet from a standard non-360 panoramic photo?
Yes, but the resulting sphere will have a large triangular missing wedge because standard panoramas do not span a full 360-degree horizontal field of view. For a seamless, closed planet without blank gaps, you need a complete 360° × 180° equirectangular image where the left and right edges align perfectly.
Why does my tiny planet look distorted or egg-shaped instead of round?
An egg-shaped or tilted planet occurs when the original panorama horizon was not perfectly leveled before projection. If the horizon rolls or undulates across the 360-degree canvas, the polar coordinates filter wraps that wave into an asymmetrical oval. Always level the horizon in Autopano Giga or PTGui before wrapping.
What is the difference between Photoshop Polar Coordinates and native stereographic projection?
Photoshop’s Polar Coordinates filter applies a 2D geometric transformation that stretches the top or bottom of a square raster image into a circle, which can cause significant pixel blur and a severe pinch point at the center. In contrast, native stereographic projection in Autopano Giga or PTGui calculates 3D ray-tracing directly from original raw sensor data, preserving razor-sharp optical detail and natural spherical perspective.
What causes the strange artifact or pinch at the center of my tiny planet?
That pinch point is the panorama zenith (the zenith point directly overhead in the sky) compressed down to a single central pixel. In bright daylight scenes, you can easily clean this up using Photoshop’s Content-Aware Fill, Generative Fill, or the Healing Brush tool to smooth sky gradients.
Can I generate tiny planet panoramas directly on my smartphone?
Yes. If you capture 360 photos using consumer hardware like the Insta360 X4 or Ricoh Theta, the companion mobile apps feature built-in “Tiny Planet” and “Inverted Planet” viewing modes that export high-resolution JPEG stills or animated MP4 video fly-ins with one tap.