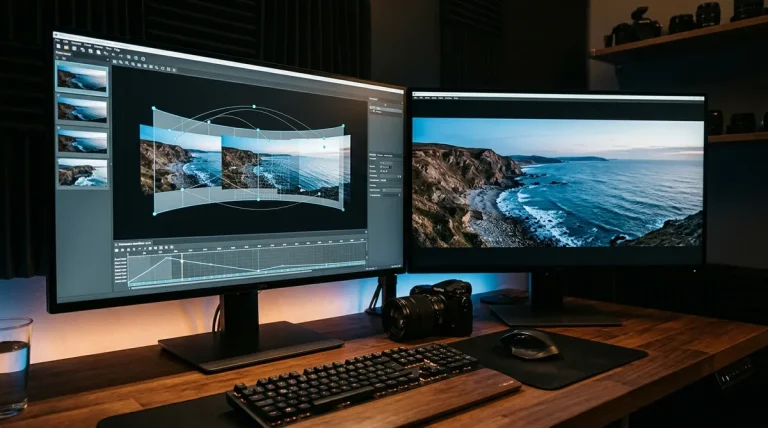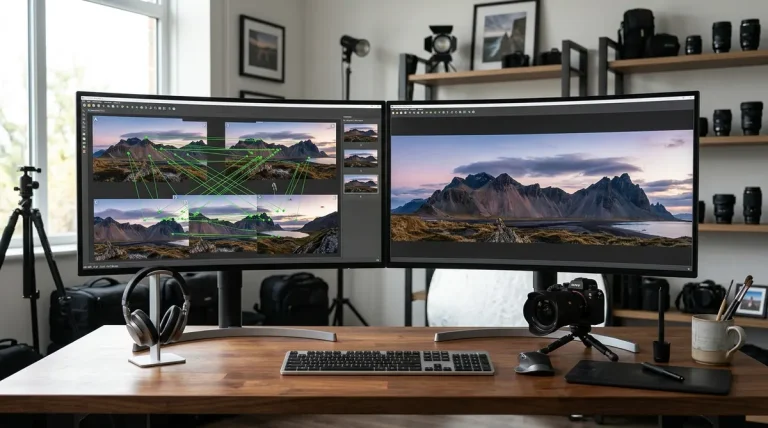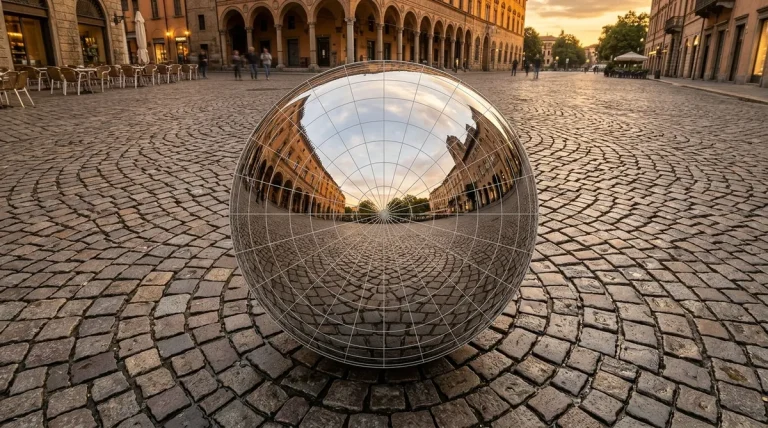
The Direct Answer: Flawless panoramas are determined in the field, not in software. To guarantee seamless alignment, you must follow the Golden 5 Rules: (1) Lock your camera to 100% Manual (Manual Exposure, Manual Focus, and fixed Kelvin White Balance); (2) Mount your camera vertically in portrait orientation to capture ample sky and foreground; (3) Maintain 30% to 35% geometric overlap between adjacent frames; (4) Rotate the camera around the lens’s entrance pupil (nodal point) to eliminate parallax errors; and (5) Never use a circular polarizing filter (CPL). Follow these field protocols, and any stitching engine—from free Autopano Giga 4.4.2 to PTGui Pro 13—will assemble your sequence in seconds with zero ghosting.
⚡ Quick Field Cheat Sheet for Panorama Shooters
The Golden Rules of Shooting Panoramas in the Field
Most photographers assume that panoramic stitching errors—such as severed power lines, wavy horizons, or double-vision seams—are software bugs. In reality, over 95% of stitching failures are caused by physical capture errors in the field. Stitching software operates on pure projective geometry; if your source frames violate optical perspective constraints, no algorithm can salvage the shot without destructive cloning.
By establishing a standardized field routine, you can shoot panoramas quickly and reliably, whether capturing a spontaneous handheld landscape or executing a commercial 48-shot bracketed interior on a Nodal Ninja panoramic tripod head.
Always Orient Your Camera in Vertical Portrait Mode
The single most common amateur mistake in panoramic photography is leaving the camera mounted horizontally in landscape orientation. While shooting horizontally requires fewer frames to cover a given horizontal angle, it produces an unpleasantly thin “ribbon” panorama with severely constrained vertical field of view.
Why Vertical Orientation Wins: Mounting your camera vertically (using an L-bracket or panoramic bracket) gives you maximum vertical coverage. It captures deep foreground textures (rocks, flowers, leading lines) and expansive skies above, yielding a balanced 2:1 or 3:1 final aspect ratio that can be cropped cleanly to standard print dimensions.
To mount your camera vertically on a standard tripod without off-centering the lens axis, invest in a dedicated Arca-Swiss L-bracket for your camera body. An L-bracket allows you to switch between horizontal and vertical orientations in two seconds while keeping the mass centered over the tripod apex.
The Three Essential Manual Camera Settings to Lock
Automated camera features are designed to re-evaluate every frame independently. For single-frame photography, this is convenient; for panoramas, it destroys seam continuity. You must manually lock three core camera parameters before your first exposure:
- Lock 1 — Manual Exposure (Shutter Speed, Aperture, ISO): In Aperture Priority (Av) or Auto mode, panning from a bright sunlit horizon to a shadowed valley causes the camera to alter shutter speeds between frames. When stitched, this creates harsh vertical bands of alternating brightness across the sky. Meter the brightest area of your composition to ensure highlights are not clipped, set your camera to full Manual (M) mode, and lock your settings across the entire sweep.
- Lock 2 — Manual Focus (MF): If autofocus is active, the lens will refocus on a distant mountain in frame #1, a tree branch in frame #2, and a foreground rock in frame #3. Because optical lenses change focal length slightly when focusing (a phenomenon known as focus breathing), adjacent frames will have differing magnification ratios and will not align. Set focus manually at the hyperfocal distance or single-point focus once, then switch the lens toggle to MF.
- Lock 3 — Fixed White Balance (Kelvin): Auto White Balance (AWB) constantly adjusts color temperature based on the dominant hue in the viewfinder. As you pan across a landscape, AWB might record frame #1 at 5200K and frame #2 at 6100K, creating visible blue-and-yellow color stripes across the clouds. Set your White Balance to a fixed Kelvin preset (e.g., 5500K Daylight or 6500K Cloudy).
⚠️ Warning: Remove Your Circular Polarizing Filter (CPL)! Polarizers filter light based on its angle relative to the sun. Because polarization is maximized at 90° from the sun and drops to zero at 0° and 180°, sweeping a polarizer across a wide panorama causes an irregular, dark gradient blotch across the blue sky that cannot be corrected in post-production.
Understanding Parallax and Finding the Entrance Pupil
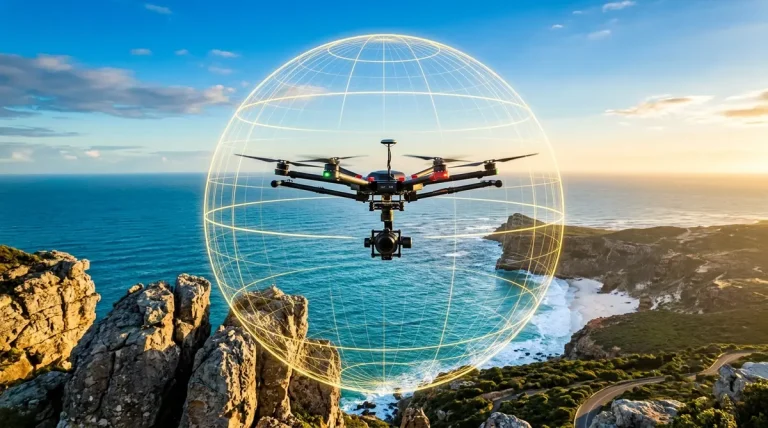
Parallax is the apparent shift in relative position between a near foreground object and a distant background when the viewpoint changes. If you rotate your camera around its standard tripod mount (which sits beneath the camera sensor, not inside the lens), the lens physically sweeps in an arc, shifting perspective between shots.
When parallax occurs, near objects (like a fence post, tree trunk, or table edge) shift position relative to the background across overlapping frames. In software, this produces unfixable double edges and broken lines. To eliminate parallax entirely, the camera must rotate precisely around the lens’s Entrance Pupil (frequently referred to as the “no-parallax point” or “nodal point”).
The 2-Minute Window-Frame Test to Find the Entrance Pupil
You can locate your lens’s entrance pupil at home in two minutes without specialized optical calibration charts:
- Mount your camera on a sliding nodal rail (or Nodal Ninja panoramic head) and stand about 4 feet away from a vertical window frame.
- Align the window frame edge so it sits directly in front of a distinct distant object (such as a neighbor’s chimney or a streetlight 100 feet away).
- Rotate the camera left so the window frame shifts to the far left of your viewfinder, then rotate right so it shifts to the far right.
- If the window frame moves relative to the background object, your camera is suffering from parallax. Slide the nodal rail forward or backward until the foreground window frame stays locked perfectly over the background object at all rotation angles. Note the millimeter marking on your rail for future field setups.
Focal Length Overlap and Shot Count Reference Table
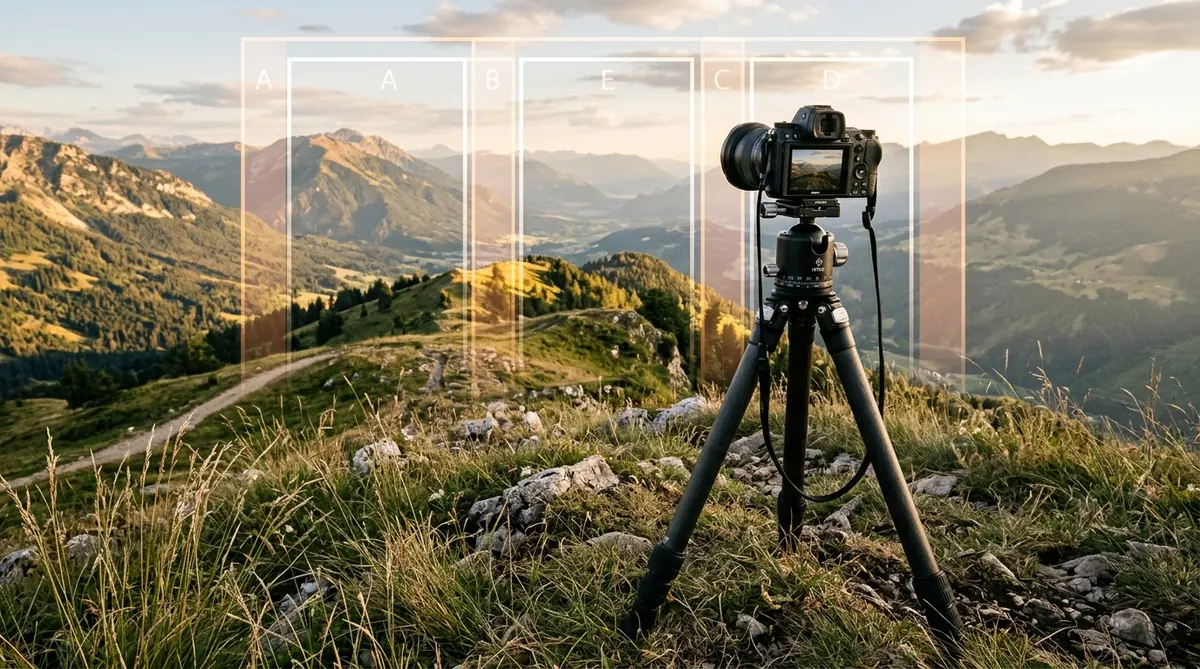
How much overlap do you need between frames? The industry standard is 30% to 35% geometric overlap. Too little overlap (under 20%) leaves insufficient feature points for automated algorithms in PTGui Pro or Autopano Giga to identify tie points; too much overlap (over 50%) introduces unnecessary ghosting risks from moving clouds or pedestrians.
| Focal Length (Full Frame) | Vertical FOV | Overlap % | Shots for 180° Sweep | Shots for 360° Sphere (Multi-Row) |
|---|---|---|---|---|
| 14mm Ultra-Wide | 104° | 30% | 4 – 5 shots | 8 – 12 shots (Single/Double Row) |
| 24mm Standard Wide | 74° | 30% | 7 – 8 shots | 18 – 24 shots (3 Rows) |
| 35mm Landscape Sweet Spot | 54° | 30% | 10 – 12 shots | 32 – 40 shots (4 Rows) |
| 50mm Standard Prime | 40° | 35% | 14 – 16 shots | 50+ shots (Gigapixel grid) |
| 85mm–100mm Telephoto | 24° | 35% | 24 – 28 shots | 100+ shots (Ultra Gigapixel) |
How to Shoot High Dynamic Range Bracketed Panoramas
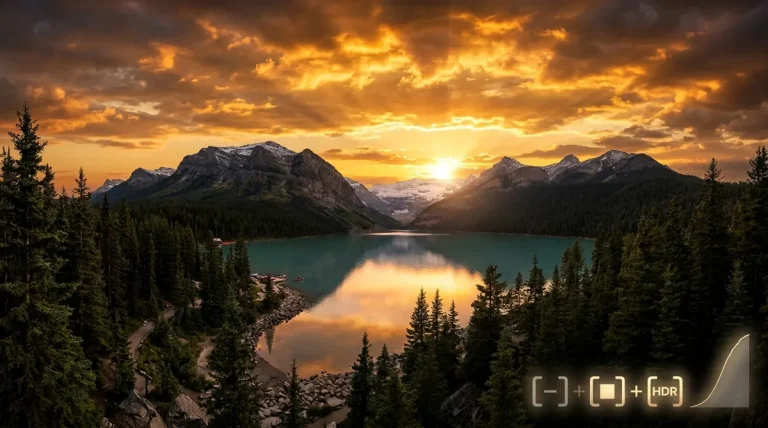
When photographing interior spaces with sunlit exterior windows or dramatic sunset landscapes, a single exposure cannot capture the scene’s full dynamic range without blowing out the sky or crushing shadow detail. You must shoot a Bracketed HDR Panorama:
- Configure Auto Exposure Bracketing (AEB): Set your camera’s AEB mode to 3 exposures separated by 2 stops (-2 EV, 0 EV, +2 EV) or 5 exposures separated by 1 stop (-2, -1, 0, +1, +2 EV).
- Keep Shutter in High-Speed Continuous: Set your drive mode to high-speed burst. Pressing and holding the cable release or wireless shutter trigger will fire all 3 or 5 brackets in rapid succession (under 1 second), minimizing cloud motion between exposures.
- Pan to Next Position: Rotate the camera by the calculated overlap step (e.g., 30°), pause 1 second to let any tripod vibration settle, and fire the next bracket burst.
- Stitching in Post: Modern stitchers like PTGui Pro will automatically detect the bracket pattern from EXIF shutter speeds, group them into bracketed stacks, and merge them into a single 32-bit floating-point HDR file. For Autopano Giga, consult our guide on Importing RAW Files into Autopano.
Handheld Panorama Technique When You Have No Tripod
You will frequently encounter travel scenarios, hiking trails, or city streets where setting up a tripod is prohibited or impractical. You can shoot remarkably sharp handheld panoramas by adopting the Body Pivot Technique:
- Do Not Pivot Your Torso: The intuitive instinct is to stand with feet planted and rotate your upper body. This causes the camera to swing in a wide 2-foot arc, introducing severe parallax errors on any foreground element.
- Rotate Your Body Around the Lens: Imagine an invisible plumb line extending straight down from the front element of your lens to a specific pebble on the ground. Step around the camera in a circle, keeping the camera hovering over that exact point in space.
- High Shutter Speed: Maintain a shutter speed of at least 1/250s (or 1/500s on high-megapixel sensors like 45MP/61MP) to eliminate micro-motion camera shake.
- Use Your Lens Hood as an Alignment Marker: In your viewfinder, identify a prominent landmark on the right-hand third grid line, rotate until that landmark aligns with the left-hand third line, and fire. This guarantees a consistent 33% overlap across the sequence.
Frequently Asked Questions About Shooting Panoramas
Should I shoot panoramas in RAW or JPEG?
Always shoot in uncompressed or lossless RAW (DNG, CR3, ARW, NEF). Panoramic sweeps cover wide lighting differentials. RAW capture preserves 14 stops of sensor dynamic range, enabling you to rescue shadow detail and recover highlights that JPEG’s 8-bit compression irreversibly clips.
Can I use an ultra-wide 10mm or 12mm lens for panoramas?
Yes, ultra-wide rectilinear and fisheye lenses are fantastic for 360° virtual tours because they require fewer shots (often 4 to 6 shots total). However, for high-resolution landscape panoramas, lenses in the 35mm to 85mm range yield vastly superior detail, lower edge distortion, and cleaner gigapixel results.
Why do I have dark wavy vertical bands across my sky?
Dark vertical bands are almost universally caused by two mistakes: shooting in an automatic exposure mode (Av, Tv, Auto) where the camera altered shutter speeds between frames, or using a Circular Polarizing Filter (CPL) which produces non-uniform polarization gradients across wide angles.
Do I need a panoramic head if my subject is far away?
If your nearest subject is more than 30 to 50 feet away (such as mountain ridges or distant city skylines across a river), parallax is negligible, and you can shoot using a standard tripod head. However, if you have foreground rocks, fences, trees, or indoor walls within 10 feet, a panoramic nodal head like Nodal Ninja is mandatory.
What is the best software to stitch my photos after shooting?
For professional speed, GPU acceleration, and 360 nadir patching, PTGui Pro 13 is the industry benchmark. For budget-conscious photographers, Autopano Giga 4.4.2 (free with an official key) and Hugin provide exceptional automated alignment.