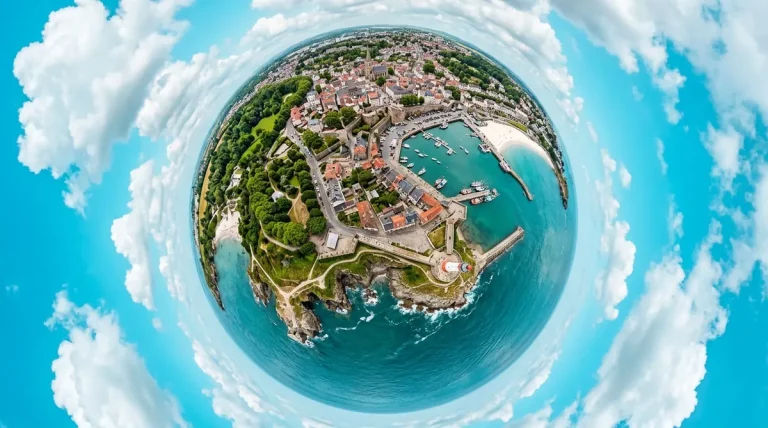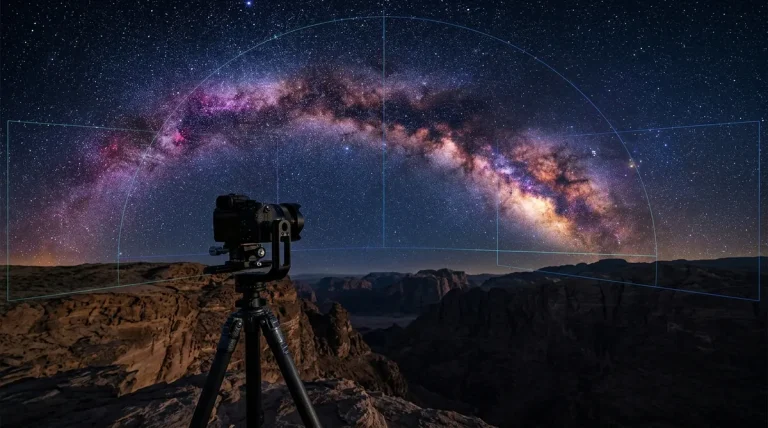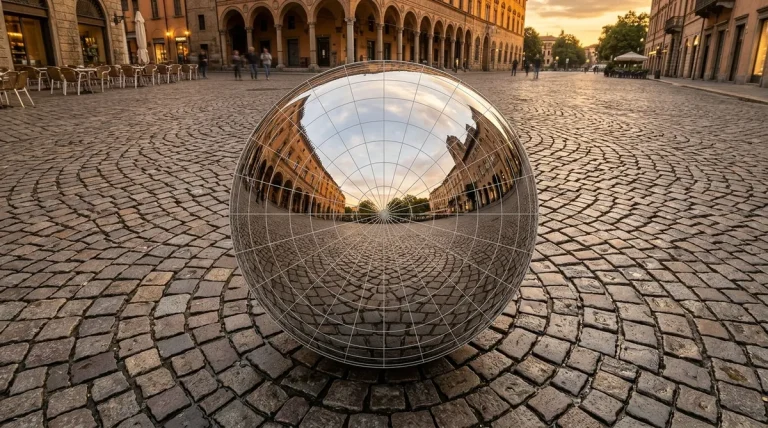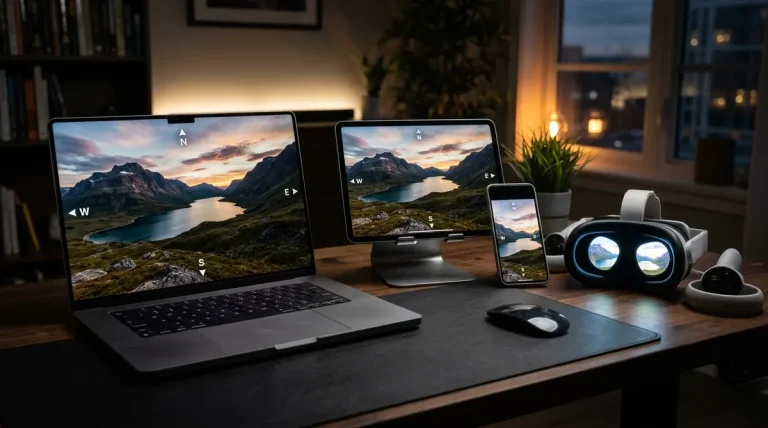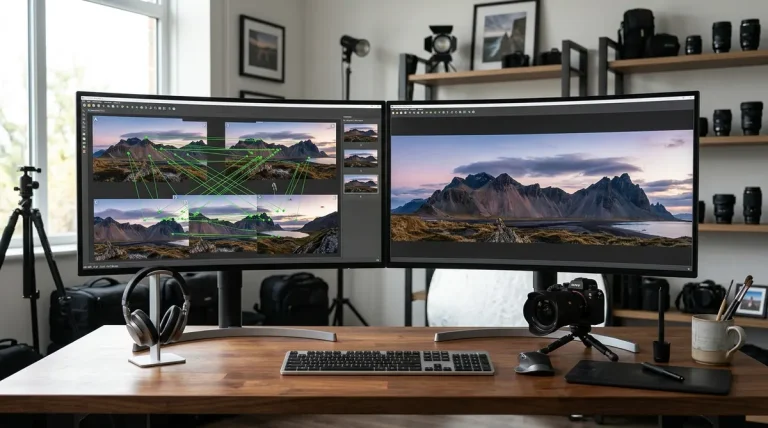
The Quick Blueprint: Stitching a panorama in Autopano Giga 4.4.2 requires five core phases: import 16-bit TIFFs with 25–35% overlap, execute the automated Detect button (SIFT feature matching), level the horizon with the Pitch/Roll tool in the Panorama Editor, apply anti-ghosting masks over moving subjects, and render with multi-band blending using Lanczos interpolation. A standard 12-frame single-row landscape stitches in under 3 minutes on any modern PC.
Essential Prerequisites Before Launching the Software
Even the world’s most sophisticated stitching engine cannot reconstruct missing visual data or eliminate severe optical parallax. Prior to launching Autopano Giga, ensure your source capture satisfies three fundamental technical criteria:
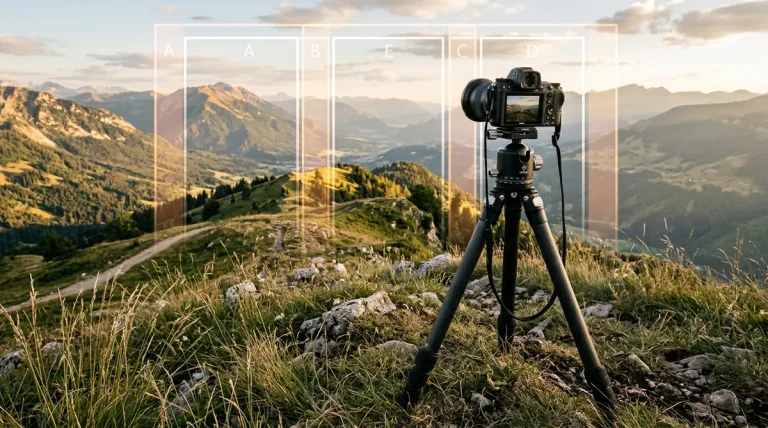
- Consistent Frame Overlap (25% to 35%): Autopano’s SIFT algorithm relies on overlapping visual landmarks to generate mathematical control points. Less than 20% overlap risks alignment failure in featureless regions (such as clear blue skies or water); more than 50% overlap increases redundant rendering time.
- Fully Locked Manual Exposure: Set your camera to Manual Mode (M). Lock shutter speed, aperture, ISO, and white balance (never use Auto WB, which creates unnatural color banding between adjacent frames).
- Clean Installation & Universal License: Verify that you are running Autopano Giga 4.4.2 (the final official release). If you have not registered the software, grab the free official credentials from our Autopano Giga License Key Guide. If you encounter startup crashes on modern Windows 11, see our Windows 11 libeay32.dll Fix.
Autopano Giga 4.4.2 was released in 2018 and cannot decode modern RAW formats (such as Canon CR3 or Sony Lossless Compressed ARW). Do not drag raw camera files directly into the software. Instead, batch-export your RAWs as 16-bit TIFFs in Adobe Lightroom Classic or Capture One prior to stitching. See our complete walkthrough: Modern Camera RAW Workflow for Autopano Giga.
Phase 1 — Ingesting and Organizing Your Image Groups
Launch Autopano Giga. The main interface is split into two primary panels: the Image Groups panel on the left, and the Panoramas panel on the right.
- Drag and Drop Your Folder: Drag your folder of 16-bit TIFF or JPEG images directly into the left panel, or click the Add Images folder icon in the top toolbar.
- Verify Lens EXIF Properties: Click on the newly created image group. In the bottom-left properties panel, confirm that Autopano has correctly identified your lens focal length and crop factor (e.g., 35mm on Full Frame). If shooting with manual vintage lenses, right-click the group, choose Edit Lens Properties, and manually define your focal length.
- Separate Multiple Panoramas: If you imported an entire shooting session containing several distinct panoramas, Autopano’s smart sorter can automatically divide them. Click Detect Panoramas or sort them into dedicated sub-groups manually to keep your workspace organized.
Phase 2 — Executing SIFT Automated Feature Detection
Autopano Giga’s industry-defining strength is its automated Scale-Invariant Feature Transform (SIFT) detection engine, which discovers hundreds of geometrical control points across image pairs without requiring manual point-and-click placement.
| Scene Type | Detection Profile | Recommended Quality Setting |
|---|---|---|
| Standard Landscapes (5–15 frames) | Standard | Auto / Sharp (Standard scale) |
| Gigapixel Multi-Row Mosaics (50+ frames) | Multi-Row / Grid | Force Fast / Keep max points to 100/pair |
| Featureless Sky / Low-Contrast Foliage | Difficult / Low Contrast | Force High Detection Scale |
- Click the orange Detect button in the image group toolbar (or press Ctrl + D).
- Autopano initializes the multithreaded SIFT feature extractor. A progress bar tracks keypoint extraction across each frame.
- Within 30–60 seconds, a thumbnail of your stitched panorama appears in the right-hand panel, accompanied by an RMS error score (e.g., RMS: 0.84 — Excellent). Any RMS score below 2.0 indicates flawless geometrical alignment.
Phase 3 — Fine-Tuning Projections and Horizon Leveling
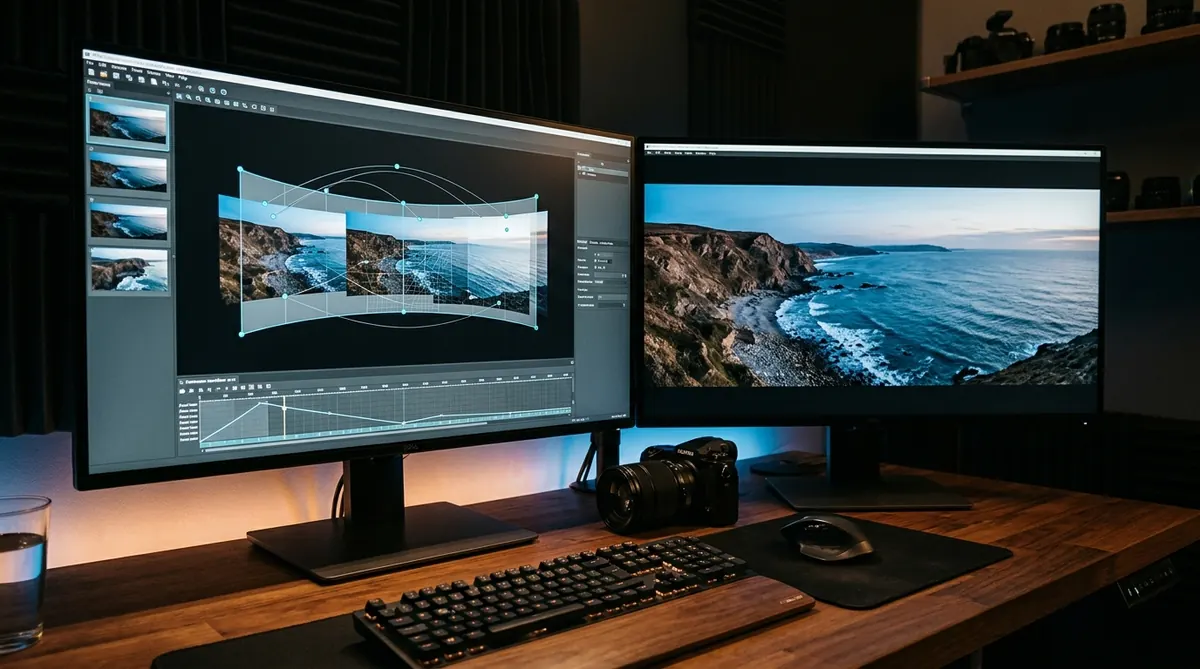
Click the Edit button (pencil icon) on the panorama card in the right panel to open the full-screen Panorama Editor. This is where mathematical stitching transforms into visual art.
Leveling a Tilted Horizon: Select the Center tool in the top toolbar. Click and drag within the editor canvas to position your main subject in the center. Switch to the Vertical Lines tool: draw two or three vertical constraints along architectural pillars, trees, or doorframes. Autopano automatically recalculates yaw, pitch, and roll, straightening your horizon to sub-pixel accuracy.
Phase 4 — Color Balancing and Anti-Ghosting Masking
Panoramic scenes frequently capture moving elements—pedestrians walking through the frame, swaying tree branches, or rolling ocean waves—resulting in translucent “ghosting” artifacts along seams. Autopano Giga provides surgical masking tools to eliminate these errors:
- Color Equalization & Anchoring: In the editor toolbar, open the Color tool. Click on the central, best-exposed frame and designate it as the Color Anchor (anchor icon). Autopano will harmonize vignetting and exposure across all flanking frames to match this reference frame.
- Eliminating Moving Subjects (Mask Tool): Click the Mask icon (or press M).
- Select the Green Brush (Include): Paint over the desired person or car in one specific frame to force Autopano to keep that entire subject intact.
- Select the Red Brush (Exclude): Paint over half-cut pedestrian ghosts or moving branches in overlapping frames to discard those pixels completely.
- Auto-Cropping: Click the Crop tool. Click the Maximized Rectangular Crop button to automatically snap the boundary box to the largest crop area containing zero black transparent corners.
Phase 5 — High-Resolution Rendering and Master Export
Once your composition, color, and masks are dialed in, close the Panorama Editor window (changes save automatically). In the main interface, click the gear icon labeled Render on your panorama card to open the render setup dialog:
- Output Format: Select TIFF (16-bit) with LZW compression for archival printing, or Photoshop (.PSD / .PSB) if you require individual warped image layers for manual retouching. (Note: use
.PSBfor files exceeding 2GB or 30,000 pixels). - Resolution: Keep Size at 100% to preserve maximum native sensor resolution.
- Interpolator: Choose Lanczos (Low-pass filtered) for the sharpest edge definition and finest micro-contrast.
- Blending Preset: Select Anti-ghosting (Smart Blend) with exposure fusion active.
If you are running an Intel 13th/14th Gen (i7/i9) or AMD Ryzen 7000/9000 processor with more than 8 cores, Autopano’s multithreading engine can suffer a thread-lock crash at 60–90% render completion. Before clicking Render, open Edit > Preferences > General and manually restrict CPU cores to 6 or 8. See our complete fix: Multi-Core Rendering Freeze Troubleshooting.
Click Render. Autopano queues the batch job. Once the progress bar reaches 100%, your master gigapixel panorama is compiled and ready for post-processing in Lightroom or Photoshop!
Frequently Asked Questions (Tutorial FAQ)
How long does it take to stitch a panorama in Autopano Giga?
For a standard single-row sequence of 8 to 12 frames (24–45MP each), detection requires approximately 30 to 45 seconds, and full-resolution 16-bit TIFF rendering takes 1 to 2 minutes on a modern SSD-equipped system. Multi-row gigapixel mosaics (100+ frames) can take 15 to 30 minutes.
Why does Autopano Giga show “File format not supported” on modern RAWs?
Autopano Giga 4.4.2 embeds LibRaw v0.18, which was compiled before Canon CR3 and Sony Lossless Compressed ARW formats existed. Convert your RAW files to 16-bit uncompressed or LZW TIFFs in Adobe Lightroom Classic or Capture One prior to importing.
Can Autopano Giga stitch 360° spherical virtual tour photos?
Yes. In the Panorama Editor, select the Spherical (Equirectangular) projection. Ensure your shooting sequence covers a complete 360° horizontal rotation plus zenith (sky) and nadir (ground) brackets to output a seamless 2:1 aspect ratio equirectangular panorama.
What should I do if my stitched panorama has visible wavy seams or ghosting?
Wavy seams are almost always caused by optical parallax (not rotating the camera around the lens entrance pupil) or moving subjects. Enable the Anti-Ghosting Mask tool in the Panorama Editor, paint exclusion masks over distorted areas, and review our dedicated guide to 7 Common Stitching Problems & Fixes.
Advance Your Panoramic Workflow
Master the next stages of panoramic capture: solve parallax stitching issues, convert modern camera RAWs, or compare Autopano with PTGui Pro.