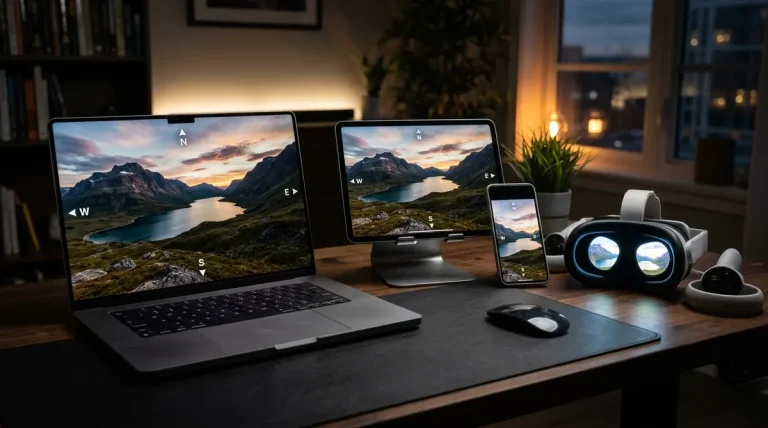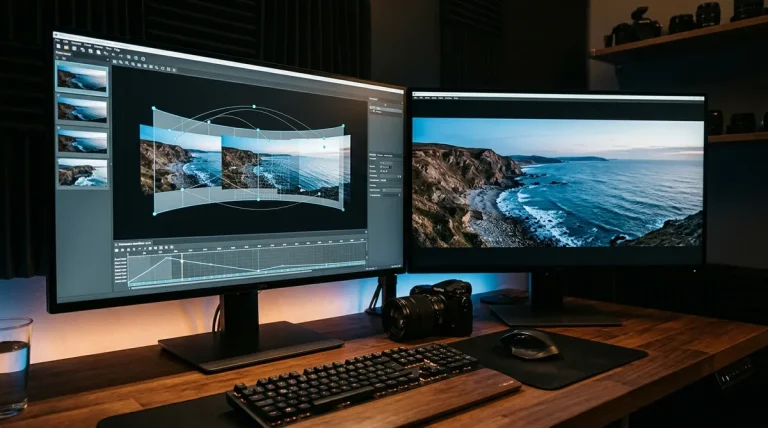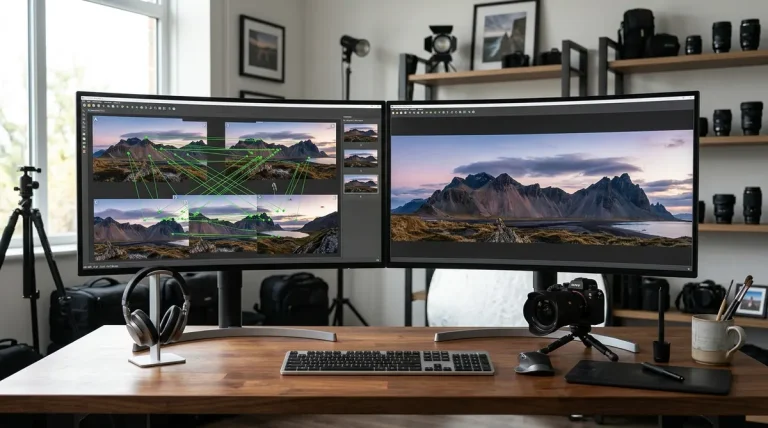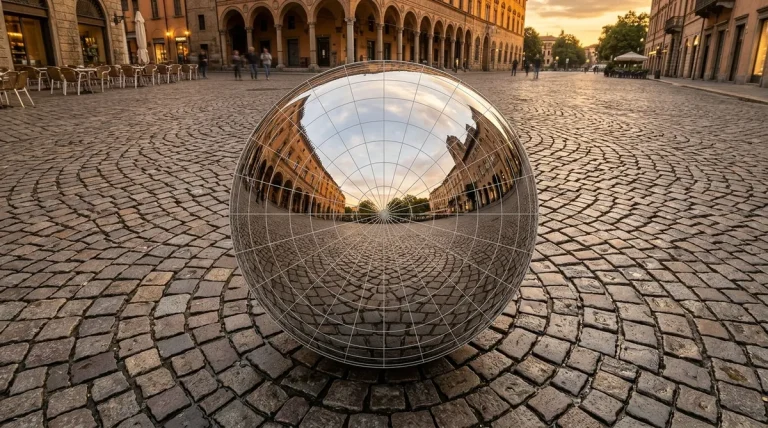
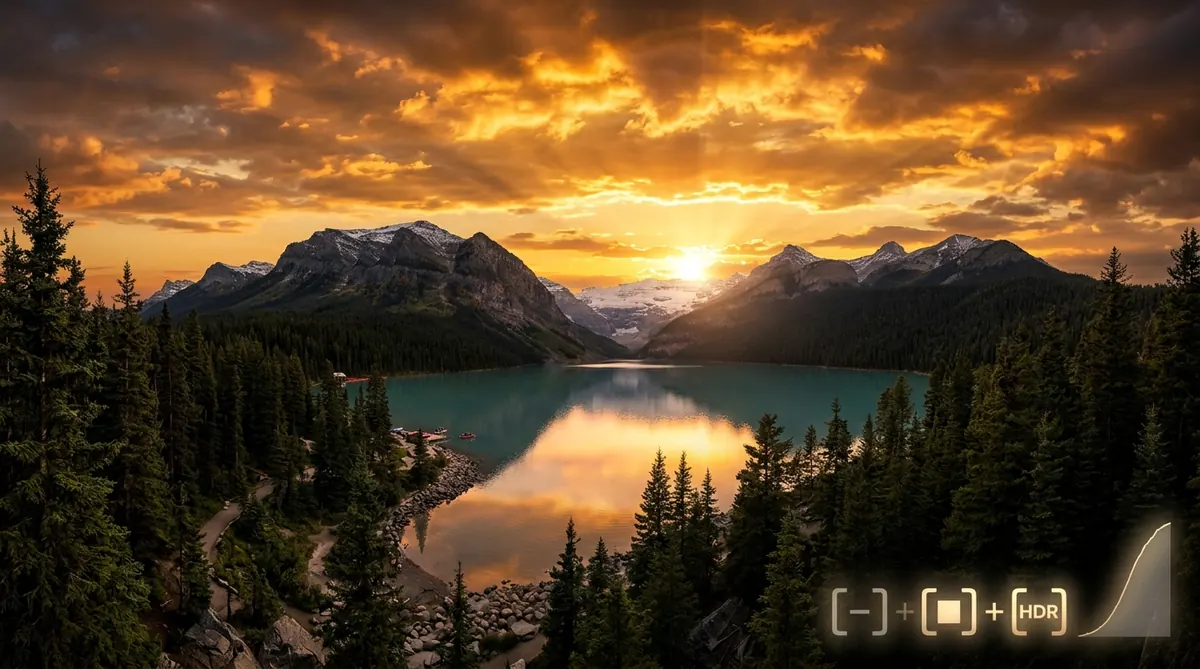
When capturing panoramic scenes — whether a sweeping sunset over a jagged mountain ridge or a sun-drenched architectural interior with bright window views — you immediately face an extreme contrast challenge. A single camera exposure cannot capture deep interior shadows and blinding exterior highlights without either blowing out the sky into washed-out pure white or crushing room shadows into noisy, muddy blackness.
Direct Answer for HDR Panoramas: The industry-standard rule is merge bracketed sets to HDR first, then stitch the resulting 32-bit DNG or 16-bit TIFF files second. This workflow ensures that your stitching software (PTGui Pro or Autopano Giga) detects control points across evenly balanced, tone-stable frames rather than battling mismatched brightness between adjacent exposures.
- 1. HDR First vs Stitch First vs Exposure Fusion
- 2. Shooting Discipline and Exposure Bracketing
- 3. The Lightroom Classic to PTGui Pro Workflow
- 4. The Fast In-Stitcher Exposure Fusion Method
- 5. How to Solve Common HDR Panorama Artifacts
- 6. 32-Bit Radiance vs 16-Bit Exposure Fusion
- 7. Pre-Stitch Diagnostic and Delivery Checklist
- 8. Frequently Asked Questions
HDR First Versus Stitch First Versus Exposure Fusion
Photographers frequently debate the sequence of operations: do you merge each bracketed stack into an HDR file before stitching, stitch each exposure layer separately, or dump all raw brackets directly into the stitcher? Each strategy has distinct algorithmic tradeoffs.
| Workflow Order | How the Pipeline Operates | Key Advantages | Potential Drawbacks | Recommended Use |
|---|---|---|---|---|
| HDR First, Stitch Second (Gold Standard) |
Merge each position’s bracketed raw files (e.g., 3 to 5 frames) into an HDR DNG or 32-bit TIFF inside Lightroom or SNS-HDR, then stitch those finished frames. | Stitching engine calculates control points on uniform lighting; color balance is 100% matched across frames; zero seam exposure divergence. | Requires intermediate file storage (large 32-bit DNG/TIFF caches). | Commercial real estate, landscape photography, fine art gallery prints. |
| Exposure Fusion in Stitcher (Fastest Turnaround) |
Import all bracketed raw frames directly into PTGui Pro or Autopano Giga. The engine detects stacks and applies the Mertens-Kautz-Van Reeth fusion algorithm during output. | Single-step process; saves intermediate disk space; automatically links control points across exposure brackets. | Less granular control over individual shadow lift and highlight recovery curves. | High-volume virtual tour shoots, event photography, rapid turnaround client jobs. |
| Stitch First, HDR Second (Deprecated) |
Stitch all underexposed (−2 EV) frames into Pano A, all baseline (0 EV) frames into Pano B, all overexposed (+2 EV) frames into Pano C, then merge the panoramas. | Fewer HDR merges (one merge instead of dozen bracket stacks). | High failure rate: Micro-warping between individual panorama stitches causes severe ghosting and edge blurring when merged. | Not recommended: Avoid this method for modern workflows. |
Shooting Discipline and Exposure Bracketing in the Field
An HDR panorama magnifies any small capture flaw. If camera settings wander or the optical entrance pupil drifts during rotation, bracket misalignment or parallax errors will ruin the stitch. To achieve razor-sharp results, follow these field capture rules (detailed further in our complete panorama shooting tutorial):
1. Bracket Spacing and Shutter Variation
Modern full-frame camera sensors boast 12 to 14 stops of usable dynamic range. However, high-contrast scenes (such as an interior room with direct noon sun streaming through glass) routinely span 18 to 22 stops of dynamic range.
- Standard High-Contrast Scenes (Landscapes / Golden Hour): 3 frames spaced at 2.0 EV intervals (−2, 0, +2 EV). This expands dynamic range by 4 full stops, covering almost all outdoor light transitions.
- Extreme Dynamic Range (Real Estate Window Pulls / Direct Sun): 5 frames spaced at 1.5 EV or 2.0 EV intervals (−4, −2, 0, +2, +4 EV). Ensure the darkest frame captures crisp blue sky and cloud textures through the window without highlight clipping.
- Vary ONLY Shutter Speed: Never allow aperture or ISO to change across brackets. Changing aperture changes depth of field and sharpness; changing ISO shifts noise floors unevenly. Lock ISO to base (ISO 64 to 100) and lock aperture (f/8 to f/11 for optimal lens sharpness).
2. Fast Burst Capture to Minimize Ghosting
Set your camera drive mode to High-Speed Continuous Bracketing. When you press the remote shutter cable or self-timer, the camera should fire off all 3 or 5 frames in a fraction of a second. The shorter the time window between bracket frames, the less risk of shifting foliage, wind-blown clouds, or pedestrian movement creating ghost artifacts.
3. Panoramic Head and No-Parallax Point
When bracketing shots with foreground elements (door frames, furniture, rocks, foliage), you must rotate the camera around the lens’s physical entrance pupil using a calibrated panoramic head such as the Nodal Ninja (see our in-depth panoramic tripod head guide). Parallax errors that are barely noticeable on a single shot become catastrophic when stacking multiple exposure layers across overlapping seams.
The Lightroom Classic to PTGui Pro HDR Workflow
This hybrid workflow delivers the highest optical clarity and color fidelity, combining Adobe Lightroom Classic‘s raw demosaicing power with PTGui Pro‘s mathematical projection precision.
1Apply Pre-Merge Optical Lens Corrections: In Lightroom Classic, select all raw files from the shoot. Enable Remove Chromatic Aberration and Enable Profile Corrections. Applying optical corrections to raw data before HDR merging prevents color fringing and vignetting curves from being baked into the dynamic range calculation.
2Batch Merge to HDR DNG: Select the bracketed set for position 1, right-click, and select Photo > Photo Merge > HDR (Ctrl+H). Check “Auto Align” and set “Deghost” to Low or Off if static. Repeat across all shooting positions. (Tip: Use Lightroom’s automated Stacking > Auto-Stack by Capture Time to group your 3-shot or 5-shot bursts instantly).
3Synchronize RAW Tone Mapping: Select all newly created HDR DNG files. Adjust your basic tone sliders (bring Highlights down by −40, lift Shadows by +35, set White and Black clipping points). Select all HDR DNG frames and click Sync Settings to ensure exposure and white balance are 100% uniform across the entire scene.
4Export as 16-Bit ProPhoto TIFF: Export the developed HDR frames as 16-bit uncompressed TIFF files in ProPhoto RGB or Adobe RGB color space to preserve the full dynamic range for stitching.
5Stitch in PTGui Pro: Import the 16-bit TIFF files into PTGui Pro. Click Align Images. Because the lighting is already balanced, PTGui’s feature-point algorithm effortlessly finds hundreds of high-quality control points across all overlaps. Verify vertical line control points and render your final panoramic equirectangular image.
The Fast In-Stitcher Exposure Fusion Method
If you are shooting dozens of virtual tour rooms per week and cannot afford the disk space or rendering time of intermediate DNG merges, you can execute native exposure fusion directly inside your stitching software.
- In PTGui Pro: Load all raw bracketed files directly. PTGui automatically detects identical camera angles based on EXIF timestamps and prompts: “The project contains bracketed exposures. Do you want to link the bracketed images?” Click Yes. PTGui places control points exclusively on the normal exposure frames and applies those coordinates across the entire bracket stack. In the Exposure / HDR tab, select Exposure Fusion (blends highlights and shadows using the Mertens algorithm) or True HDR (outputs 32-bit OpenEXR or HDR format for CGI environment maps).
- In Autopano Giga: Drag all bracketed files into the group window. Autopano automatically recognizes the multi-bracket pattern. Under Color / Exposure settings, switch from Simple Blending to Exposure Fusion. Set the anti-ghosting threshold and weight curves to protect specular highlights. (For complete setup steps, reference our Autopano Giga RAW import workflow).
How to Solve Common HDR Panorama Artifacts
HDR panoramas combine multiple complex mathematical algorithms, making them vulnerable to distinctive visual defects if configured improperly.
1. Halos Around Dark Edges and Rooflines
Cause: Excessive tone-mapping contrast compression, where local adaptation algorithms darken bright areas and brighten dark areas immediately adjacent to high-contrast edges.
Solution: Switch from aggressive tone-mapping filters to weighted Exposure Fusion (Enfuse). In Lightroom, pull back the Clarity and Dehaze sliders, relying instead on mild Highlights/Shadows adjustments. If using PTGui Pro, lower the Contrast Weight slider in the Exposure Fusion settings.
2. Ghosting from Moving Elements
Cause: Tree branches waving in the breeze, flowing water, or pedestrians walking across the frame between bracket exposures.
Solution: Use PTGui’s Masking Tool. Navigate to the Mask tab in PTGui Pro and paint green (include) on the specific frame where the moving person or car looks best, and paint red (exclude) on the duplicate ghosted instances across the other bracketed layers.
3. Visible Seams and Brightness Steps
Cause: Auto-exposure, auto-white balance, or camera auto-ISO shifting during the panorama rotation. Even a slight 100K shift in white balance creates a noticeable vertical seam down an interior wall.
Solution: Lock White Balance to a Kelvin preset (e.g., 5500K Daylight or 3200K Tungsten) before the first shot. If shooting RAW, select all frames in your raw processor and sync white balance and exposure values across the entire set before stitching (see our panorama stitching troubleshooting guide).
32-Bit True HDR Radiance Versus 16-Bit Exposure Fusion
Understanding the distinction between 32-bit True HDR files and 16-bit Exposure Fusion dictates how you save and deliver your work:
- Exposure Fusion (16-bit TIFF / 8-bit JPEG): Selects the best-exposed pixels from each bracket (highlights from −2 EV, midtones from 0 EV, shadows from +2 EV) and blends them into a standard dynamic range image that displays properly on standard computer monitors and web browsers. This is the correct output for real estate listings, architecture portfolios, and virtual tours published via web 360 platforms.
- True Radiance HDR (.EXR / .HDR): Preserves the full, uncompressed mathematical luminosity values (up to 30+ stops of light). The human eye cannot view this directly without tone mapping, but 3D artists and VFX studios use these files as Image-Based Lighting (IBL) environment maps in Blender, Maya, and Unreal Engine to accurately illuminate virtual 3D models with real-world sunlight.
Pre-Stitch Diagnostic and File Delivery Checklist
Before initiating final rendering or sending output files to clients, run through this five-point quality control checklist:
1Verify Uniform RAW Calibration: Check that White Balance Kelvin, Tint, and Lens Profile Corrections are identically matched across all bracketed sets before merging or fusion.
2Audit Alignment Control Points: In PTGui Pro or Autopano, ensure that control points are distributed evenly across both bright windows and deep room corners, not solely concentrated on midtone areas.
3Check Seam Transitions at 100% Zoom: Zoom into high-contrast edge boundaries (such as rooflines against bright skies or window mullions) to confirm zero chromatic haloing or double lines.
4Confirm Color Space Tagging: Ensure that 16-bit master files are tagged with ProPhoto RGB or Adobe RGB for print, while all web-destined JPEG deliverables are strictly converted to sRGB IEC61966-2.1.
5Inspect Nadir and Zenith Coverage: For 360° spherical panoramas, ensure your bracketed exposures covered the top ceiling and floor nadir, patching the tripod legs as detailed in our nadir tripod removal tutorial.
Frequently Asked Questions
Should I merge to HDR before or after stitching a panorama?
Always merge bracketed photos to HDR first, then stitch the resulting HDR frames second. When each shooting position is already an evenly balanced, uniform HDR frame, your stitching software can identify control points with 100% accuracy. Stitching separate exposures first and attempting to blend the finished panoramas causes micro-alignment failures and edge ghosting.
How many bracketed shots do I need per panorama angle?
For standard outdoor landscapes and golden hour scenes, 3 frames spaced at 2.0 EV intervals (-2, 0, +2 EV) provide ample dynamic range. For extreme dynamic range environments, such as interior real estate with bright exterior windows or direct sun in the frame, shoot 5 frames spaced at 1.5 EV or 2.0 EV intervals (-4, -2, 0, +2, +4 EV).
What is the difference between HDR tone mapping and exposure fusion?
HDR tone mapping compresses a 32-bit floating-point radiance map into a displayable 8-bit or 16-bit image using local adaptation algorithms, which can sometimes produce artificial halos around sharp edges. Exposure fusion (the Mertens algorithm used in Enfuse, PTGui, and Autopano) bypasses 32-bit floating point calculations entirely, blending the sharpest, best-exposed pixels from each bracket for a more natural, realistic photographic look.
Can Autopano Giga stitch bracketed HDR photos automatically?
Yes. Autopano Giga features built-in exposure fusion and HDR stacking. When you drag in your bracketed image set, Autopano automatically recognizes the shooting sequence by timestamp, calculates control points on the optimal exposure layer, and blends highlights and shadows into a seamless HDR panorama without requiring prior manual merging in external software.
Why do my HDR panoramas have glowing halos around buildings and tree lines?
Glowing halos are caused by aggressive tone mapping or uncorrected lens vignetting. When heavy vignetting isn’t corrected on the raw files before merging, the dark outer edges get boosted artificially during shadow recovery. Always enable lens profile corrections on all raw frames first, and lower contrast weight sliders or switch to weighted exposure fusion to eliminate halos.