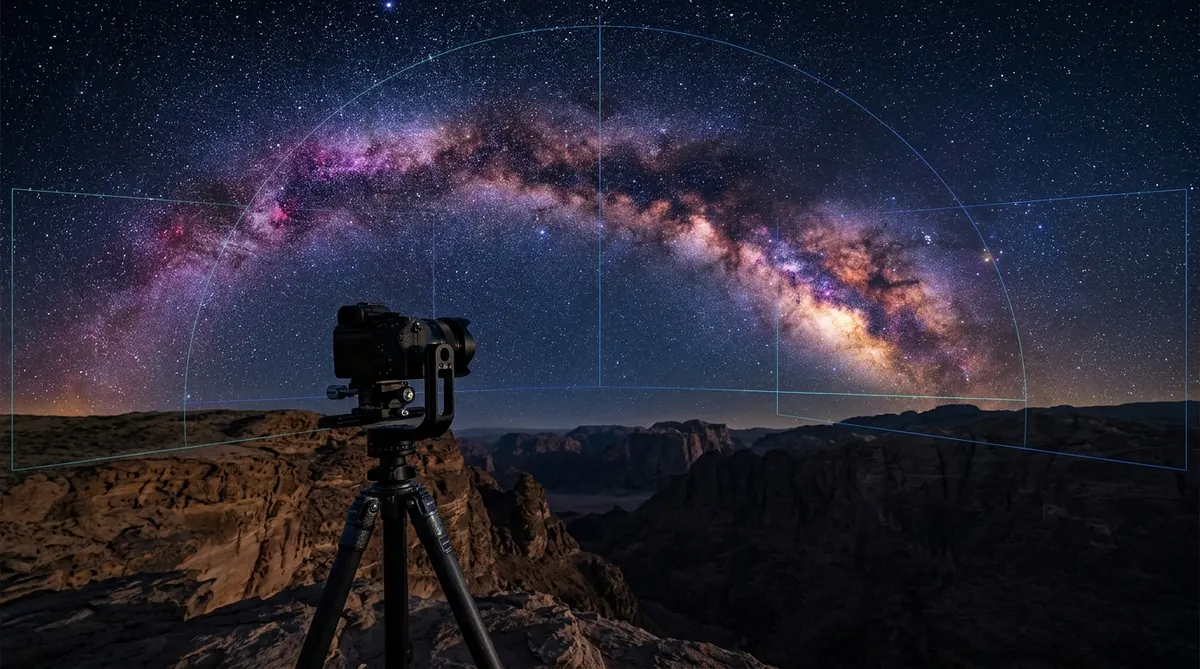
Photographing the complete, glowing arc of our galaxy stretching from horizon to horizon is one of the most rewarding pursuits in night landscape astrophotography. However, because the Milky Way spans between 180 and 240 degrees across the night sky, no single ultra-wide lens — even a 14mm full-frame optic — can capture the full celestial arch alongside the terrestrial landscape without severe distortion and tiny star rendering.
Core Rule of Astrophotography Panoramas: Capturing the Milky Way arch requires a minimum of 50% overlap between adjacent frames (compared to 25–30% for daytime panoramas) and a two-pass separate stitch for the sky and the ground. Because the Earth rotates at roughly 15 degrees per hour, stars move noticeably between the first and last frame of your sequence. Stitching the sky and ground in a single pass will inevitably cause severe control-point conflict and blurry seam shearing along the horizon.
In this guide, you will learn the exact mathematics, exposure parameters, multi-row rotation tactics, and post-processing pipelines needed to stitch clean, pinpoint, high-resolution galactic arch panoramas using modern cameras and software like PTGui Pro, Hugin, and Autopano Giga.
- 1. The Science of Capturing the Complete Galactic Arch
- 2. Night Photography Field Settings and Overlap Rules
- 3. The NPF Rule Versus the Outdated 500 Rule
- 4. Multi-Row Capture Sequence in the Dark
- 5. Noise Stacking Before Stitching
- 6. Stitching Sky and Foreground as Independent Panoramas
- 7. Tracked Astro Panoramas with Star Trackers
- 8. Final Blending in Adobe Photoshop
- 9. Frequently Asked Questions
The Science of Capturing the Complete Galactic Arch
The core of the Milky Way (in the constellation Sagittarius) is the brightest and most colorful region of our galaxy, but the complete galactic disk forms a massive bridge that connects across Cassiopeia and Cygnus. Successfully framing this requires understanding timing, season, and celestial elevation:
- Northern Hemisphere Season: The Galactic Core becomes visible in late February (early morning pre-dawn) and remains shootable through October. The ideal window to capture the full horizontal arch is April through June, when the arch lies low across the eastern and southeastern horizon (20° to 45° elevation) before standing vertically later in summer.
- Southern Hemisphere Season: Peak Milky Way season runs from February through November. The core reaches directly overhead near the zenith, allowing breathtaking 360-degree celestial dome panoramas.
- Moon Phase and Bortle Dark Sky: Plan your shoot within four days before or after the New Moon. Search for locations rated Bortle 1 to Bortle 3 on dark sky maps to avoid urban light pollution washing out faint interstellar dust lanes.
Night Photography Field Settings and Overlap Rules
Photographing stars at night presents unique challenges: contrast is extremely low, autofocus systems fail completely, and camera sensors generate thermal noise during multi-second exposures. Configure your camera with these rigid parameters before turning the rotator:
- Shoot in Portrait (Vertical) Orientation: Always mount your camera vertically using an L-bracket or panoramic bracket. Vertical framing gives you 50% more vertical field of view, capturing high into the sky and low onto the foreground in fewer rows.
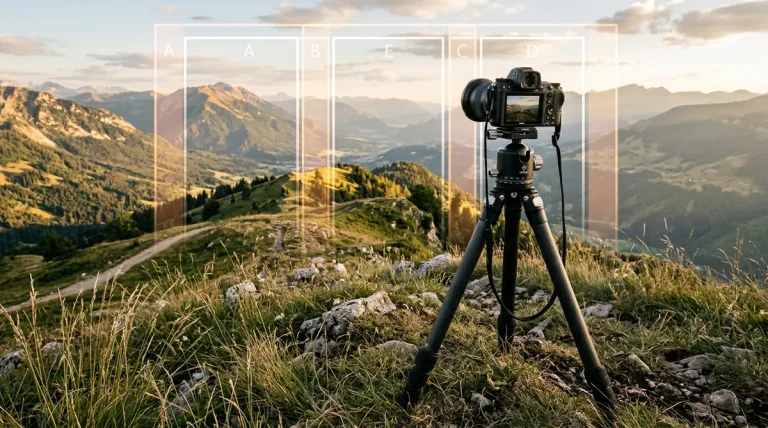
- Overlap Ratio (50% Minimum): In daylight, high-contrast tree branches and buildings allow stitchers to lock onto overlapping features with only 25% overlap. In the night sky, thousands of faint pinpoints look identical to the algorithm. 50% overlap gives PTGui and Hugin enough recognizable star clusters to triangulate control points without mispairing.
- Manual Focus on Pinpoint Stars: Switch lens to Manual Focus (MF). Find the brightest star in the sky (e.g., Vega, Arcturus, or Jupiter), magnify your electronic viewfinder or rear LCD to 10x, and gently rock the manual focus ring until the star shrinks to its absolute smallest, sharpest pinpoint. Secure the focus ring with a strip of gaffer tape.
- White Balance Lock: Set a custom Kelvin white balance between 3800K and 4200K. Leaving white balance on Auto (AWB) results in color shifts from cold blue to muddy orange across your sequence.
The NPF Rule Versus the Outdated 500 Rule
Astrophotographers historically calculated maximum shutter speed before star trailing occurred using the “500 Rule” (500 divided by focal length). On vintage 12MP cameras with large pixel pitches, that formula was sufficient. On modern 24MP, 45MP, or 61MP high-resolution sensors, the 500 Rule results in noticeable star egg-shapes and blur streaks.
Instead, use the NPF Rule (which calculates shutter speed based on lens focal length, aperture f-number, and sensor pixel pitch in microns). Below is a practical cheat-sheet comparing exposure limits on modern full-frame sensors:
| Lens Focal Length | Aperture | Old 500 Rule | Modern NPF Rule (24MP – 45MP) | Recommended ISO |
|---|---|---|---|---|
| 14mm Ultra-Wide | f/2.8 | ~35 seconds (Severe Streaks) | 20 – 25 seconds | ISO 3200 – 6400 |
| 20mm Fast Prime | f/1.8 | ~25 seconds (Trailing) | 12 – 15 seconds | ISO 3200 – 6400 |
| 24mm Landscape Prime | f/1.4 – f/2.0 | ~20 seconds (Trailing) | 10 – 12 seconds | ISO 1600 – 3200 |
| 35mm Detail Prime | f/1.4 – f/1.8 | ~14 seconds (Trailing) | 6 – 8 seconds | ISO 3200 – 6400 |
Using a 20mm or 24mm prime at f/1.8 delivers far more light-gathering capacity (photon collecting area) than a 14mm f/2.8 zoom, resulting in cleaner shadow recovery and richer H-alpha nebulosity in the galactic core.
Multi-Row Capture Sequence in the Dark
Because the Milky Way arch spans high overhead while the landscape rests below, single-row panoramas frequently suffer from clipped arch crowns or missing foreground. A two-row or three-row panorama is the professional standard:
1Row 1 — Terrestrial Foreground: Tilt your camera downward (−15° to −20° pitch) so your bottom edge frames the foreground rocks, road, or water. Rotate through 180°–220° in 30° steps (with a 24mm lens), capturing each position.
2Row 2 — Horizon and Low Sky: Tilt the camera to level (0° pitch). Rotate back across the scene in identical increments. This row anchors the transition between ground and star field.
3Row 3 — Upper Sky and Galactic Arch Peak: Tilt the camera upward (+25° to +35° pitch) to capture the zenith and the top crown of the galactic arch. Rotate across the full panorama span.
4Speed Matters: Complete the entire multi-row sequence within 8 to 12 minutes. Because the celestial sphere rotates 1° every 4 minutes, taking 30 minutes to complete the grid will introduce significant star distortion between the first and last panel.
To keep rotations consistent in pitch and yaw in pitch-black conditions, use a modular panoramic gimbal system such as the Nodal Ninja with tactile detent clicks. You can count clicks by touch without blinding your night-adjusted vision with flashlights.
Noise Stacking Before Stitching
Shooting at ISO 3200 to 6400 inevitably introduces chrominance and luminance noise. While AI denoisers like Topaz Photo AI or Lightroom Denoise work wonders on daytime photos, applying heavy AI sharpening to raw star fields can mistakenly turn star clusters into plastic artifacts or erase faint nebulae.
The superior astrophotography approach is temporal median stacking. For each panoramic angle, shoot 4 to 8 consecutive exposures with a wired intervalometer. Before stitching, batch import each set into specialized astro-stacking software:
- Sequator (Windows / Free): Select “Star Freeze” with “Ground Freeze” to average out random sensor noise while aligning star movements automatically.
- Starry Landscape Stacker (macOS): Paints sky and ground masks to output pristine, noise-free 16-bit TIFF files for each position.
Once stacked, your effective signal-to-noise ratio improves by the square root of the number of frames (4 frames = 50% noise reduction, roughly equivalent to shooting at ISO 800 with ISO 6400 brightness).
Stitching Sky and Foreground as Independent Panoramas
Attempting to stitch raw astrophotography images in Lightroom’s native Photomerge usually results in an “Unable to Merge” error or severe tears at the horizon. Professional astrophotographers use PTGui Pro with a two-pass decoupled strategy:
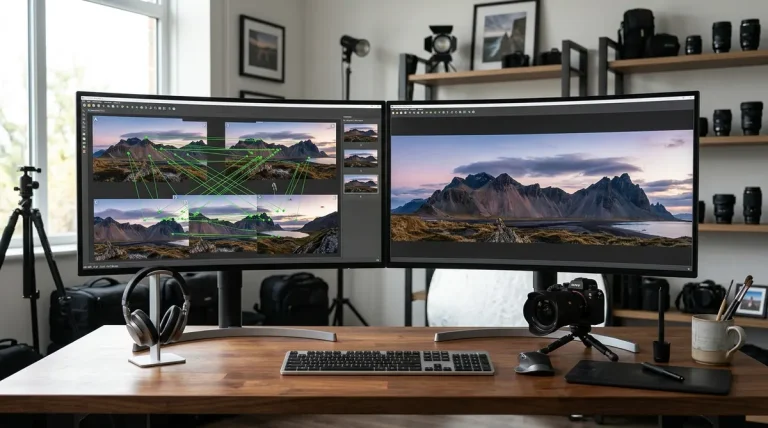
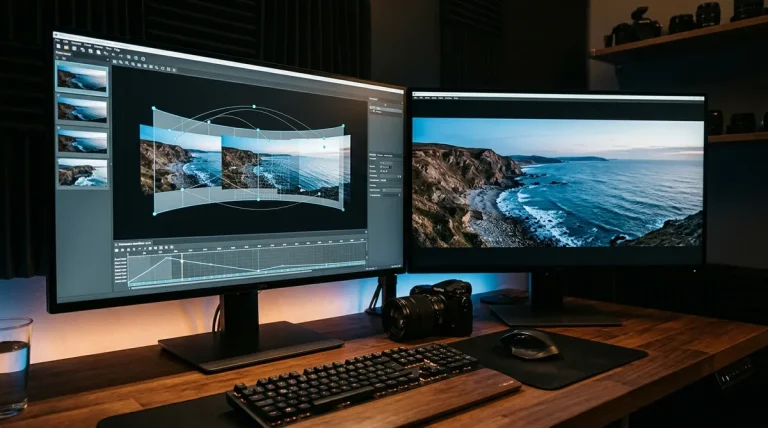
- Pass 1 — Stitch the Sky Panorama: Import only the sky frames into PTGui. Use the Mask tool to paint red exclusion over any mountains, trees, or ground peeking into the bottom frames. Click Align Images. Under Projection, choose Cylindrical or Mercator to bend the linear Milky Way into a magnificent arched rainbow. Render this as
MilkyWay_Sky_Pano.tif. - Pass 2 — Stitch the Ground Panorama: Import the foreground frames. Paint red exclusion over the stars so PTGui only matches geological and architectural control points. Set projection to match the sky pass (e.g., Cylindrical) and render as
MilkyWay_Ground_Pano.tif.
Tracked Astro Panoramas with Star Trackers
If you want jaw-dropping detail with rich interstellar hydrogen-alpha clouds and pinpoint stars, pair your camera with an equatorial star tracker such as the iOptron SkyGuider Pro or the ultra-compact Move Shoot Move.
- How Tracking Changes the Workflow: A polar-aligned star tracker rotates the camera at the exact sidereal rate (15.041° per hour), counteracting the Earth’s rotation. This allows you to expose for 2 to 4 minutes per frame at ISO 800 or 1600 without star trails, gathering 8x more photons than untracked shots.
- The Blur Tradeoff: Because the tracker moves with the stars, the terrestrial ground will be completely blurred during long sky exposures.
- The Solution: Shoot the full sky panorama with the tracker turned ON. Once finished, turn the tracker motor OFF, wait until blue hour (or shoot a clean 4-minute foreground exposure at ISO 400), and capture the ground row stationary. Blend the two in Photoshop.
Final Blending in Adobe Photoshop
Bring both rendered panoramic layers into Adobe Photoshop as separate layers in a single document:
- Place the ground panorama on the bottom layer and the sky panorama on top.
- Set the top sky layer’s blending mode temporarily to Difference to align the natural horizon overlap with pixel accuracy, then switch back to Normal.
- Add a Layer Mask to the sky layer. Use Select > Sky or create a precision luminosity channel mask along the mountain ridge or tree horizon line.
- Invert the mask and refine the edge with a soft black brush (flow 15%) to eliminate hard edge cutouts or bright seams between earth and atmosphere.
- Apply targeted Curves to enhance contrast in the galactic core dust lanes, boost saturation slightly in star colors, and export your master panoramic image.
Frequently Asked Questions
Why do Milky Way panoramas require 50% overlap instead of 30%?
Star fields are low-contrast scenes consisting of thousands of identical bright dots against a black canvas. Stitching software needs generous 50% overlap to recognize unique star constellations and avoid generating false control points on noise pixels or wrong stars. 50% overlap also counteracts lens vignetting light falloff at the corners.
Why won’t Lightroom stitch my Milky Way panorama?
Lightroom’s native Photomerge algorithm is designed for daylight photography with distinct geometric edges. At night, faint stars, low contrast, and slight star movement across multi-second exposures cause Lightroom’s feature detection to fail, returning ‘Unable to merge’ errors. Dedicated stitching tools like PTGui Pro or Hugin allow manual control-point placement and handle celestial projection math much better.
Should I stack stars for noise reduction before or after stitching?
Always stack before you stitch. Shoot 4 to 8 consecutive exposures at each camera angle, stack them using median stacking in Sequator or Starry Landscape Stacker to eliminate sensor thermal noise, and then feed the clean, sharp 16-bit stacked TIFFs into your panorama stitcher. Attempting to stitch noisy raw frames first multiplies alignment errors.
What is the best lens focal length for a Milky Way arch panorama?
A fast 20mm or 24mm prime lens (f/1.4 or f/1.8) is the sweet spot. While a 14mm lens covers more area per shot, a 24mm f/1.4 gathers substantially more physical light per unit of time, rendering richer galactic dust lanes and much larger, crisper stars when stitched into a multi-row panorama.
Why do I need to stitch the sky and ground separately?
Because the Earth rotates beneath the stars at approximately 15 degrees per hour. Over the course of an 8-to-15 minute panoramic capture sequence, the celestial sphere shifts relative to the static ground. If you force your stitching software to align both stars and landscape simultaneously, the horizon line will shear, tear, or become a double-exposed blur.