
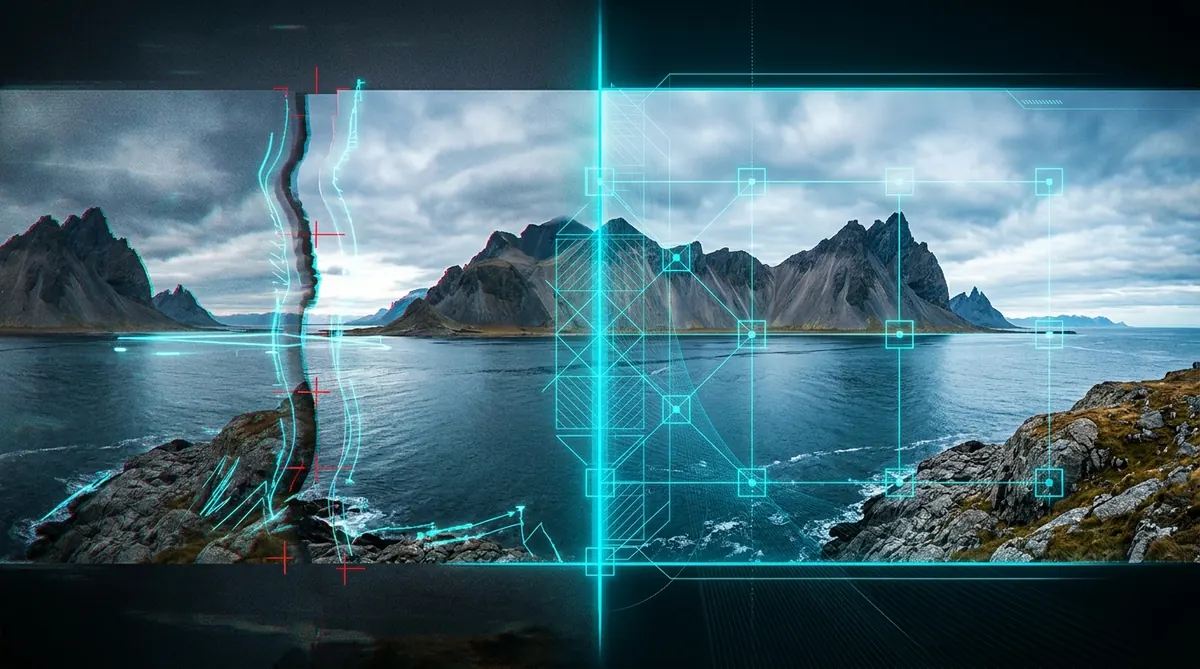
The Direct Answer: More than 85% of panorama stitching failures originate during capture rather than inside software algorithms. The primary culprits are optical parallax (failing to rotate around the lens entrance pupil), exposure banding (leaving Auto ISO or Auto White Balance engaged), temporal ghosting (moving subjects intersecting seams), and horizon warping (missing vertical line constraints). Below is the comprehensive engineering guide to diagnosing root causes and executing permanent fixes in the field and inside Autopano Giga or PTGui Pro.
| Symptom | Root Cause | Immediate Field Fix | Post-Processing Rescue |
|---|---|---|---|
| Broken foreground lines | Optical parallax error | Rotate on entrance pupil | Viewpoint correction / manual CP |
| Vertical dark/light stripes | Vignetting / Auto WB | Lock manual exposure & WB | Color Anchor & lens flat-field |
| Half-cut pedestrians / cars | Subject movement across seams | Time shots between motions | Anti-ghosting masking brush |
| Wavy S-curve horizon | Unlevel tripod / pitch drift | Level tripod base bubble | Add vertical line constraints |
| “No control points found” | Overlap <15% or plain sky | Maintain 30% visual overlap | Force high-scale SIFT search |
| Blurry seams at 100% zoom | Bilinear blend / camera shake | 2-sec timer / high shutter | Lanczos interpolator export |
| App crashes during render | CPU thread-lock / RAM spill | Shoot fewer redundant rows | Cap CPU cores to 6–8 in prefs |
Issue 1 — Optical Parallax and Foreground Seam Misalignment
The Symptoms: In the stitched image, distant mountains or buildings align perfectly, but foreground railings, cobblestones, interior tables, or floor tiles are sliced in half, duplicated, or misaligned by several centimeters.
The Optical Physics: Optical parallax occurs when the camera rotates around its tripod mounting socket (or the photographer’s body) rather than the lens’s true entrance pupil (often erroneously called the “nodal point”). As the camera swings, the foreground physically shifts position relative to the background across adjacent frames. Because the perspective geometry has fundamentally altered, no flat mathematical transformation can align both planes simultaneously.
- In the Field (The Permanent Solution): Mount your camera on a dedicated panoramic head. Calibrate the nodal slide along the lens optical axis until a foreground object (such as a vertical pencil 1 meter away) remains motionless against a distant background landmark as you rotate the camera left and right. See our in-depth guide: Panoramic Tripod Head Calibration Guide.
- In Post-Processing (Software Rescue): If you must rescue handheld shots, open the Control Points editor. Delete all control points located on the distant background and force control points only on the foreground plane, or use PTGui Pro’s Viewpoint Correction tool, which mathematically re-projects planar surfaces from displaced camera positions.
Issue 2 — Visible Seams and Exposure Banding Across Frames
The Symptoms: Vertical dark and light stripes appear across clear skies, smooth walls, or bodies of water, making the individual overlapping rectangles visibly obvious in the final panoramic export.
The Technical Causes: Exposure banding stems from two compounding mistakes: shooting with an active automatic metering mode (Auto ISO, Aperture Priority, or Auto White Balance), or uncorrected optical lens vignetting. When light falls off by 1.5 to 2.5 EV at the corners of ultra-wide lenses, blending an uncorrected dark corner against a bright image center produces severe exposure gradients.
- Lock Settings in the Field: Set your camera strictly to Manual Mode (M). Point your camera at the brightest zone of the panoramic arc, dial in exposure to protect highlights from clipping, and leave that exact shutter speed, aperture, and ISO locked for every single frame. Set White Balance to a fixed Kelvin value (e.g., 5500K Daylight).
- Pre-Process Vignetting Profiles: Prior to importing images into Autopano Giga or PTGui, import your RAW files into Lightroom or Capture One. Enable Lens Profile Corrections to neutralize optical vignetting, then batch export as 16-bit TIFFs.
- Engage Color Anchoring in Software: In Autopano Giga’s Panorama Editor, open the Color tool and designate your central, best-exposed image as the Color Anchor. Set blending to Smartblend with Exposure Fusion to equalize illumination across the panoramic field.
Issue 3 — Ghosting Artifacts and Moving Subjects on Seams
The Symptoms: Pedestrians appear with translucent severed limbs, cars have duplicate rear bumpers, or fluttering leaves and breaking ocean waves render as blurry, smudged textures along stitch boundaries.
The Software Fix: Do not rely on basic multi-band blending when motion is present. Modern panoramic stitchers offer surgical masking layers to dictate exactly which frame’s pixels survive the blending process:
- In Autopano Giga: Open the Panorama Editor and click the Mask icon (M). Select the Green Brush (Include) and paint over the subject on the frame where they look best. Select the Red Brush (Exclude) and paint over the ghosted remnant in the adjacent overlapping frame.
- In PTGui Pro: Navigate to the Mask tab. Draw a red mask over any person or object in the frame where they intersect a seam. PTGui will automatically route the optimal blending boundary around your exclusion mask.
Issue 4 — Tilted or Wavy S-Curve Horizons
The Symptoms: The horizon resembles an undulating rollercoaster track, ocean shorelines curve unnaturally, or vertical architectural walls lean inwards like a collapsing tent.
The Geometry Solution: When cameras rotate across a plane that is not perfectly level with gravity, pitch and roll errors accumulate progressively. A 2-degree tilt on frame 1 compounds into a massive sine-wave distortion over a 180° sweep.
- Level Your Tripod Base (Not Just the Camera): The panning clamp must be 100% horizontal to the earth. If your tripod base is tilted, leveling the camera ball head will only keep the camera level at one specific angle; as you pan, the pitch will drift immediately.
- Apply Vertical Line Constraints in Post: In Autopano Giga or PTGui, switch to the Vertical Lines tool. Draw 3 to 5 vertical line constraints on architectural structures (door frames, building corners, pillars) spread across the panorama. Re-optimize the project: the software will recalculate roll and yaw parameters, snapping the entire horizon straight in one second.
Issue 5 — Failed Alignment and Missing Control Points
The Symptoms: Autopano Giga returns “No panorama detected” or places individual frames into disjointed, floating clusters. PTGui’s optimizer returns an extremely high average control point distance (e.g., >10.0 pixels) or displays images stacked on top of each other.
The Algorithm Fix: Feature detection engines (SIFT / SURF) require high-contrast, non-repetitive micro-textures. When overlapping zones consist entirely of uniform blue sky, flat white interior drywall, or repetitive water ripples, automated feature matchers fail to establish mathematical confidence.
- Force High-Scale Detection: In Autopano Giga group settings, change the Detection Quality from Standard to Difficult / Low Contrast, or force detection at 100% resolution.
- Place Manual Control Points: Open the Control Points tab. Manually identify 3 to 4 distinct physical landmarks shared by adjacent images (such as a unique cloud edge, rock crack, or distant light pole) and add pairs manually.
- Rough Pre-Positioning: In PTGui, use the Panorama Editor canvas to drag the orphan image roughly into its physical position relative to neighbors before running the Optimizer.
Issue 6 — Soft Focus and Micro-Contrast Degradation at Seams
The Symptoms: The individual source photos are razor-sharp when inspected at 100% magnification, but the final stitched panorama appears noticeably softer, mushy, or smeared across blending seams.
The Culprit (Blending Interpolation): Low-order pixel interpolators (like Bilinear or simple Bicubic) blend pixels by calculating averages, which acts as an optical low-pass filter and degrades micro-acutance. Additionally, autofocus hunting between shots can result in adjacent frames having slightly differing focal planes.
- Switch to Manual Focus (MF): Lock manual focus on your primary subject before taking frame 1 and never adjust the focus ring mid-panorama.
- Export with Lanczos Interpolation: In your software render preferences (Autopano Giga or PTGui), always select Lanczos (Low-Pass Filtered) or Spline-36. Lanczos preserves edge sharpness and micro-contrast throughout re-projection warping.
Issue 7 — Application Freezes and Memory Crashes on Gigapixel Exports
The Symptoms: When rendering large multi-row panoramas (output resolutions exceeding 20,000 × 10,000 pixels or file sizes over 2GB), the progress bar freezes at 70–90%, or the stitching software crashes directly to the desktop without an error notification.
The System Architecture Fix: Multi-gigabyte image rendering exhausts physical RAM, causing the operating system to swap gigabytes of memory cache to disk. On modern high-core processors (Intel 13th/14th Gen or AMD Ryzen 7000/9000), older software suffers thread synchronization deadlocks when spawning 16+ parallel tile rendering threads.
- Cap Multithreading Cores to 6–8: In Autopano Giga, navigate to Edit > Preferences > General and manually set the maximum number of cores to 6 or 8. See our complete fix: Multi-Core CPU Crash Guide.
- Export to Photoshop Large Document (.PSB): Standard
.PSDand standard.TIFFfile specifications have a hard maximum file size limit of 2GB and 4GB respectively. If your panorama exceeds 30,000 pixels, always select Photoshop Large Document (.PSB) or BigTIFF to prevent file container overflow crashes. - Configure a Dedicated Scratch NVMe SSD: In PTGui or Autopano preferences, designate a fast NVMe M.2 SSD with at least 100GB of free space as your temporary directory.
The 2-Minute Pre-Flight Panoramic Field Checklist
Before pressing the shutter on your first panoramic frame, run through this 6-point checklist to guarantee zero stitching failures:
- [ ] Camera Exposure Mode: Set to full Manual (M). Shutter, Aperture, and ISO locked.
- [ ] White Balance: Fixed preset (Daylight / Cloudy) or exact Kelvin value. Auto WB disabled.
- [ ] Focus Mode: Manual Focus (MF) locked on subject distance. Autofocus disabled.
- [ ] Orientation: Portrait orientation selected for maximum vertical field of view.
- [ ] Overlap Discipline: 25% to 35% overlap between consecutive frames verified via grid.
- [ ] Tripod Leveling: Base leveling bubble centered prior to rotating camera.
Frequently Asked Questions (FAQ)
Why won’t my photos stitch together at all?
The top three causes are insufficient overlap (under 15%), featureless overlap regions (plain blue sky or flat white walls), and inconsistent exposures between frames. Maintain 30% overlap and lock manual camera exposure before shooting.
Can severe optical parallax be repaired in software after shooting?
Only partially. In mild cases, you can delete background control points and force alignment on the foreground plane, or use PTGui Pro’s Viewpoint Correction tool for planar objects. Severe 3D parallax cannot be mathematically resolved and requires re-shooting with a panoramic head.
Why do my stitched panoramas look fine zoomed out but blurry at 100%?
This occurs when the software defaults to low-order interpolation (Bilinear) or blends misaligned pixels from minor camera shake. Always set the render interpolator to Lanczos and inspect critical seams at 100% zoom.
Which software handles imperfect handheld photos best?
PTGui Pro provides the finest manual control over difficult stitches thanks to individual control point editing, viewpoint correction, and masking. Autopano Giga remains fastest when source photos are well-shot. See our PTGui vs Autopano Giga Benchmark.
Master the Art of Flawless Panorama Stitching
Now that you understand the root causes of stitching errors, follow our step-by-step assembly tutorial or benchmark your workflow against PTGui Pro.