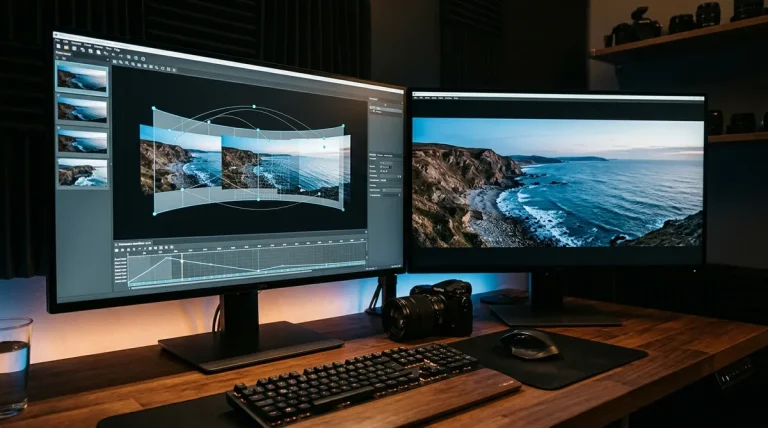
Every 360-degree photograph has an unavoidable blind spot directly beneath the camera. Whether you mount an all-in-one camera like the Insta360 X4 or Ricoh Theta Z1 (reviewed in our 360 virtual tour camera guide), or shoot a high-resolution DSLR grid on a calibrated panoramic head, looking straight down reveals the tripod legs, mounting plate, and your own shadow. In spherical photography, this bottom pole (−90° elevation) is called the nadir.
Quick Answer for Nadir Tripod Removal: The fastest modern way to remove a tripod from a 360 photo is using Photoshop Polar Coordinates: Rotate your image 180° upside down, apply Filter > Distort > Polar Coordinates (Polar to Rectangular) to unwrap the floor into a flat rectangle, clean the tripod with Generative Fill or the Remove Tool, and reverse the process with Rectangular to Polar. For professional virtual tours with intricate hardwood or tile textures, capture an offset floor shot and align it using PTGui Pro Viewpoint Correction.
- 1. What is the Nadir in 360 Photography
- 2. Why the Legacy Photoshop 3D Workflow Fails
- 3. Method 1 — Polar Coordinates in Photoshop
- 4. Method 2 — PTGui Pro Viewpoint Correction
- 5. Method 3 — Virtual Tour Platform Nadir Caps
- 6. Nadir Prevention with Slender VR Monopods
- 7. Choosing the Right Technique for Your Project
- 8. Step-by-Step Quality Control Checklist
- 9. Frequently Asked Questions
What is the Nadir and Why Does the Tripod Always Appear
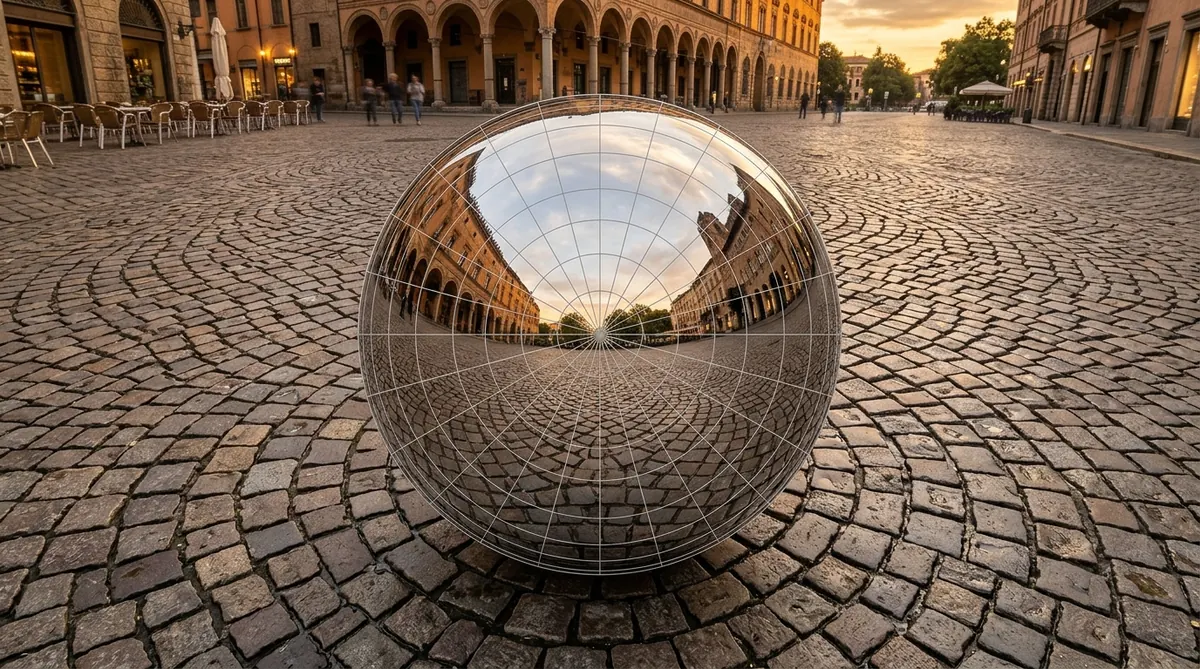
A full 360° × 180° equirectangular photograph maps a complete three-dimensional sphere onto a 2:1 flat image canvas. The very top edge (+90° pitch) represents the zenith (the sky or ceiling, which we cover extensively in our drone panorama stitching tutorial), while the very bottom edge (−90° pitch) represents the nadir (the ground directly below the lens).
Because physical matter cannot float in mid-air, every camera requires support — whether a tripod, a monopod, a light stand, or a robotic rover. In an equirectangular projection, the nadir is severely stretched horizontally across the entire bottom baseline of the image. When viewed inside an interactive WebGL or VR viewer, this stretched smear resolves into a high-visibility optical cluster right where your audience looks when exploring a virtual floor.
Why the Old Photoshop 3D Workflow No Longer Works
If you search for nadir patching tutorials on older photography forums, the majority instruct you to open your panorama in Photoshop and navigate to 3D > Spherical Panorama > New Panorama Layer from Selected Layer.
Do not waste time searching for this menu: Adobe officially discontinued and removed its legacy OpenGL 3D engine starting with Photoshop v22.5. In modern Creative Cloud releases, all 3D features are disabled or stripped out entirely. Fortunately, the replacement methods — utilizing geometric distortion filters, AI Generative Fill, and dedicated stitcher algorithms — are significantly faster and produce cleaner, higher-resolution results.
Method 1 — Polar Coordinates and Generative Fill in Photoshop
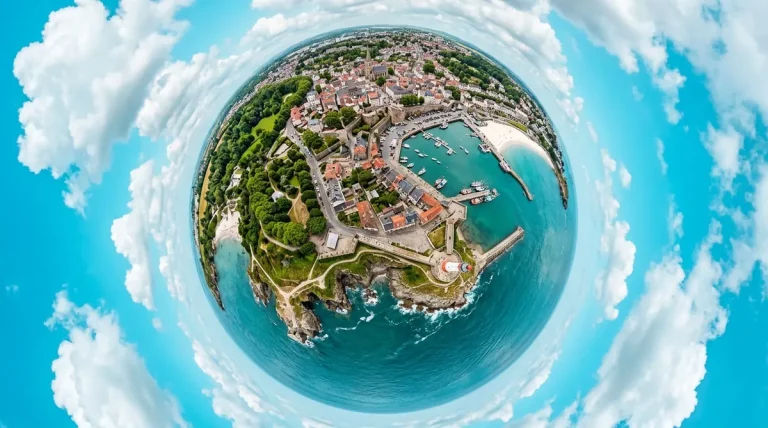
The standard Photoshop technique to patch a nadir without native 3D tools relies on the Polar Coordinates filter. This mathematical transform unfolds the extreme spherical distortion at the bottom pole into a flat, planar perspective where normal healing tools work effortlessly.
1Flip Canvas Upside Down: Open your 2:1 equirectangular JPEG or TIFF in Adobe Photoshop. Go to Image > Image Rotation > 180°. The Polar Coordinates filter operates natively on the top edge of an image, so flipping the canvas puts the nadir floor at the top.
2Unwrap the Nadir Pole: Navigate to Filter > Distort > Polar Coordinates. Select the radio option Polar to Rectangular and click OK. The stretched nadir tripod expands into a circular, undistorted floor patch right in the center of the canvas.
3Remove the Tripod Hardware: Use the Lasso Tool (L) to draw a loose selection around the tripod legs and shadow. In the Contextual Task Bar, click Generative Fill, leave the prompt blank, and click Generate. Alternatively, use the Remove Tool or Content-Aware Fill for consistent textures like carpet, asphalt, or grass.
4Wrap Canvas Back to Spherical: Flatten the generated layers into the background (Ctrl+E / Cmd+E). Return to Filter > Distort > Polar Coordinates, but this time select Rectangular to Polar. Click OK.
5Restore Original Orientation: Go to Image > Image Rotation > 180° to flip the canvas right-side up. Save your clean equirectangular file.
Crucial Tip: Always verify that your image aspect ratio remains exactly 2:1 (e.g. 12,000 × 6,000 px) and that your metadata is intact before saving, as detailed in our 360 photo publishing guide.
Method 2 — PTGui Pro Viewpoint Correction for Floor Details
While AI Generative Fill excels at organic textures like gravel, grass, or smooth concrete, it frequently hallucinates broken geometric lines on patterned tile floors, parquet wood grain, or ornate Persian rugs. When shooting architectural interiors where floor pattern continuity is critical, professional photographers use Viewpoint Correction in PTGui Pro.
Field Capture Protocol for Viewpoint Correction
- Mount your camera on a panoramic head (such as the Nodal Ninja — learn more in our panoramic tripod head guide) and shoot your full 360° × 180° sequence following standard panorama shooting discipline.
- Once the panorama is captured, pick up the entire tripod, step backward 0.5 to 1 meter, and hold the camera handheld directly over the spot where the tripod just stood.
- Aim the camera straight down at the vacant floor and capture a single “patch shot” (ensuring your own feet remain outside the frame).
Stitching the Viewpoint Patch in PTGui Pro
- Import all panorama frames plus the handheld floor patch shot into PTGui Pro (or check our PTGui vs Autopano comparison).
- In the Project Assistant, click Align Images.
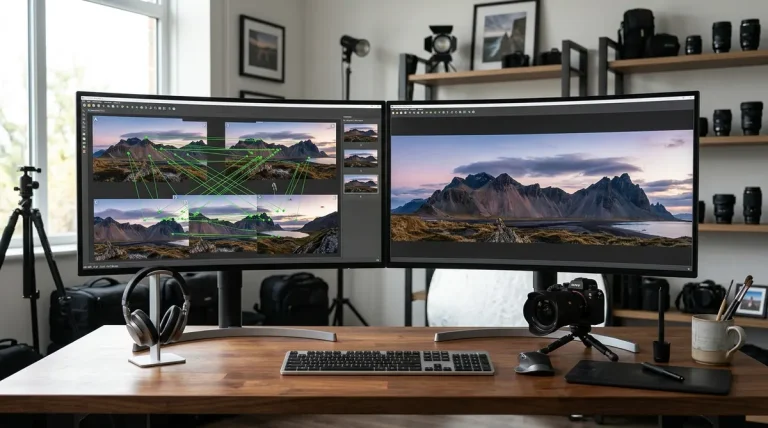
- Navigate to the Image Parameters tab. Find your handheld floor patch shot and check the box labeled Viewpoint. This activates PTGui’s planar perspective transformation engine, calculating translation (x, y, z shift) instead of assuming a fixed optical center.
- Switch to the Control Points tab. Select an adjacent panorama frame on the left and the floor patch shot on the right. Add 4 to 8 control points exclusively on flat floor features (tile grout lines, wood planks). Do not place control points on 3D objects like furniture legs or baseboards.
- Open the Mask tab. On the original panorama frames, paint red (exclude) over the tripod legs. On the floor patch shot, paint green (include) over the clean floor.
- Run Optimizer (F5) and render the final seamless panorama.
Method 3 — Virtual Tour Platform Nadir Caps and Floor Logos
If you are shooting high-volume commercial tours (such as 20 virtual tours per week for real estate agencies or automotive dealerships), manually retouching the floor in Photoshop or shooting viewpoint patches for every single room is cost-prohibitive. The industry standard commercial solution is applying a Nadir Cap directly inside your hosting platform (see our breakdown of the best virtual tour software for real estate).
- Kuula Nadir Patch Feature: Kuula offers an automated Nadir Cap tool. Upload your equirectangular image with the tripod visible. In the tour editor, toggle “Nadir Patch”, upload your agency logo (PNG with transparency) or select a circular mirror ball. Kuula maps the graphic onto the bottom pole, letting you adjust its diameter and blur feathering.
- CloudPano Branding Overlay: CloudPano allows photographers to place a customizable circular floor logo containing the real estate agent’s headshot, phone number, and brokerage branding. This turns an unsightly hardware obstruction into high-value client marketing.
- Pano2VR Custom Patches: Pano2VR includes an interactive Patch tool that extracts the nadir as a flat rectilinear TIFF, allows you to drop in vector logos or retouch in an external editor, and re-injects the patch back into the project file non-destructively.
Nadir Prevention During Capture with Slender VR Monopods
The easiest tripod to remove in post-production is one that was barely visible in the first place. Traditional photography tripods feature bulky leg apex collars, wide spreader knobs, and thick rubber feet that occupy a 30-degree cone at the nadir.
| Camera Mounting Setup | Nadir Obstruction Footprint | Retouching Difficulty | Best Suited Scenario |
|---|---|---|---|
| Standard Photo Tripod | Large (Bulky legs, spreader knobs, wide shadow) | High — Requires extensive cloning or viewpoint patch | Outdoor landscape panoramas in high wind |
| VR Carbon Fiber Monopod with Caster Base | Minimal (Pencil-thin shaft, tiny 20cm base) | Ultra-Low — 5-second clone stamp or 80px nadir cap | Indoor real estate, commercial retail, virtual tours |
| Counterweighted Light Stand | Small (Flat legs resting flush against the floor) | Low — Generative Fill removes in one click | Studio shoots, museum documentation |
Professional virtual tour photographers use slender VR monopods paired with heavy cast-iron counterweight bases. Because all-in-one 360 cameras like the Insta360 X4 or Ricoh Theta Z1 use dual fisheye lenses with 180°+ field of view, an ultra-slender monopod shaft falls entirely within the camera’s blind stitch seam line, leaving only a tiny circular footprint on the floor.
Choosing the Right Nadir Technique for Your Project
Selecting the optimal nadir workflow depends on your client expectations, turnaround time, and floor complexity:
- Choose Photoshop Polar Coordinates + Generative Fill if: You are editing a single high-resolution fine-art panorama or a drone spherical capture over grass, dirt, gravel, or water where AI can seamlessly recreate the texture.
- Choose PTGui Pro Viewpoint Correction if: You are shooting high-end commercial architecture, historic buildings, luxury real estate, or intricate geometric tile where the floor must remain 100% faithful to reality without AI hallucination.
- Choose a Branded Nadir Cap if: You are producing commercial virtual tours on CloudPano or Kuula where the client pays for brokerage branding and marketing lead capture.
Step-by-Step Quality Control Checklist
Before delivering your final 360 photo to clients or uploading to virtual tour platforms, verify these four quality control checkpoints:
1Inspect Floor Seams in a 360 Viewer: Do not judge your patch solely on a flat 2:1 image canvas. Load the photo into an interactive viewer (like Pannellum or PTGui’s Panorama Editor) and look directly down. Verify there are no pinched spirals, seam tears, or unnatural blur clusters.
2Shadow Cleaned: Verify that the tripod leg shadows cast by room lighting or the sun have been cloned out alongside the tripod legs.
3Exact 2:1 Aspect Ratio Preserved: Confirm the canvas was not accidentally cropped during Photoshop retouching. Dimensions must remain strictly 2:1 (e.g. 11,000 × 5,500 px or 12,000 × 6,000 px).
4360 XMP Metadata Retained: Ensure that Photoshop did not strip the GPano metadata during export. If the file opens as a flat rectangle on Facebook or Kuula, re-inject the tags as described in our 360 publishing guide.
Frequently Asked Questions
What is a nadir in 360 photography?
The nadir is the lowest point on the celestial sphere, corresponding to the point directly below the camera at −90° elevation. In 360-degree photography, looking straight down at the nadir reveals the tripod legs, mounting head, and photographer’s shadow. Professional 360 photos require nadir patching or a nadir cap to eliminate this hardware.
Why did Photoshop remove the 3D Spherical Panorama feature?
Adobe discontinued its legacy OpenGL 3D engine starting in Photoshop v22.5 due to modern operating system GPU driver incompatibilities and architectural performance limits. You can no longer enter 3D spherical mode in newer Photoshop versions, but you can achieve identical or better results using Filter > Distort > Polar Coordinates combined with modern Generative Fill or the Remove Tool.
What is the difference between nadir patching and a nadir cap?
Nadir patching reconstructs or clones the real floor surface using Photoshop Polar Coordinates or PTGui Viewpoint Correction so the floor appears completely natural and seamless. A nadir cap overlays a graphic circle (such as a company logo, broker headshot, or mirror ball) over the tripod area inside virtual tour software like Kuula or CloudPano to hide the tripod without retouching.
How do I prevent parallax when shooting a nadir patch shot?
When shooting an offset floor patch shot for PTGui, move the tripod away, hold the camera vertically over the tripod location, and shoot straight down. In PTGui Pro, enable the ‘Viewpoint’ checkbox for that image and place control points exclusively on the flat floor surface. PTGui’s planar transformation compensates for the handheld height and position difference without parallax tearing.
Can I remove the tripod on my smartphone?
Yes. Mobile apps like TouchRetouch, Snapseed, and native iOS/Android AI magic erasers can remove small monopod footprints directly on mobile devices. For all-in-one 360 cameras, mobile companion apps like Insta360 and Theta App provide automated logo stamp and optical nadir cover features.