Stitching a high-resolution 360-degree panorama in PTGui or Autopano Giga is only half the battle. When you attempt to share your interactive spherical image online, you immediately encounter format rejections, crushed resolutions, broken viewer navigation, or flat, distorted rectangles on social media.
Quick Answer for 2026 Publishing: To guarantee an interactive 360° photo anywhere, your file must meet three rigid criteria before upload: (1) An exact 2:1 equirectangular aspect ratio (e.g., 12,000 × 6,000 px), (2) Embedded Google Photo Sphere (GPano) XMP metadata, and (3) An sRGB color space profile. If Facebook, Kuula, or Google Maps displays your panorama as a flat distorted panoramic strip, your photo editing software stripped the XMP metadata during export.
- 1. The Technical Foundation of 360 Photos
- 2. How to Re-Inject Missing 360 Metadata Fast
- 3. Publishing on Facebook and Social Media
- 4. Publishing to Google Maps and Street View
- 5. Hosting on Dedicated Cloud Platforms
- 6. Embedding 360 Photos on WordPress
- 7. Workarounds for Instagram and TikTok
- 8. Pre-Publishing Quality Checklist
- 9. Frequently Asked Questions
The Technical Foundation of Interactive 360 Photos
Unlike standard wide-angle flat stitching, a 360° virtual tour asset represents a complete spherical bubble wrapped onto a planar two-dimensional surface. For viewer engines (WebGL, Three.js, Pannellum, Facebook, or Google Maps) to project this texture back onto an interactive sphere, your files must follow universal geometry and metadata protocols.
1. The Absolute 2 to 1 Equirectangular Ratio
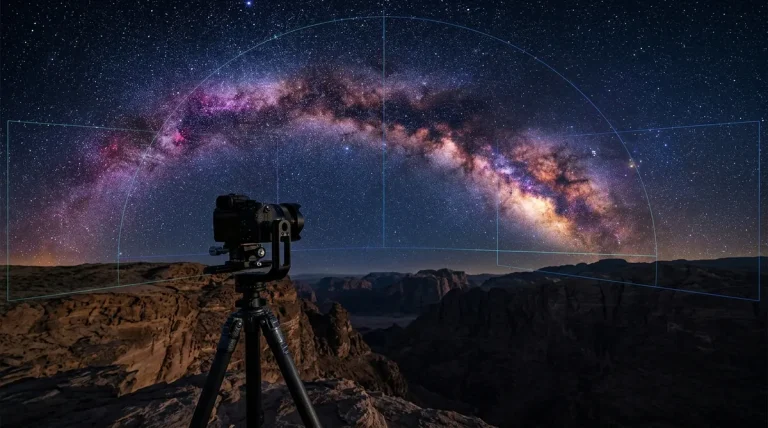
A full spherical panorama captures 360 degrees horizontally and 180 degrees vertically. Mathematically, 360° divided by 180° yields an exact 2:1 aspect ratio. Standard industry dimensions include:
- Standard Web & Social: 8,000 × 4,000 px or 12,000 × 6,000 px (fast loading, universal mobile compatibility).
- Commercial Real Estate & DSLR Rigs: 14,000 × 7,000 px to 18,000 × 9,000 px (captured with fisheye lenses on panoramic heads like Nodal Ninja — see our panoramic tripod head guide).
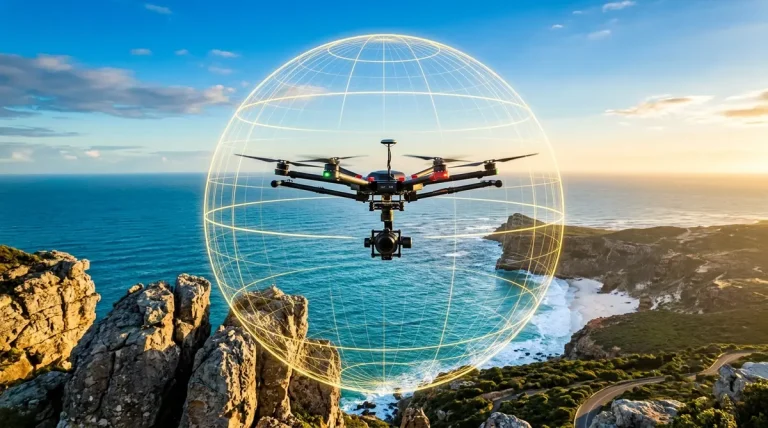
- High-Altitude Drone Spheres: 16,384 × 8,192 px (DJI automated 26-shot grid stitched in high resolution; see our drone panorama stitching tutorial).
Common Mistake: Cropping the canvas to 16:9, cutting out black gaps at the poles, or saving at 12,000 × 5,800 px causes the viewer engine to misinterpret the sphere, resulting in extreme geometric warping, seam tear lines, or outright rejection by social feeds.
2. Google Photo Sphere XMP Metadata Explained
Social networks and browser viewers do not inspect the pixels to figure out if an image is a panorama; they read the embedded GPano (Google Photo Sphere) XML namespace inside the EXIF/XMP headers. Essential tags include:
GPano:UsePanoramaViewer="True"— Triggers the browser to launch an interactive 3D WebGL spherical canvas instead of a static image preview.GPano:ProjectionType="equirectangular"— Informs the renderer how to map the longitude and latitude coordinates.GPano:FullPanoWidthPixels&GPano:FullPanoHeightPixels— Defines the original 360×180 sphere boundaries.GPano:CroppedAreaImageWidthPixels&GPano:CroppedAreaImageHeightPixels— Accounts for partial panoramas or nadir cuts without spherical distortion.
Whenever you touch an equirectangular image inside Adobe Photoshop, Lightroom, Affinity Photo, or AI denoisers like Topaz Photo AI, the standard export engine frequently deletes or strips out custom XMP schemas. Before uploading, you must ensure this metadata is intact.
How to Re-Inject Missing 360 Metadata Fast
If your stitched JPEG or edited TIFF lost its spherical tags during tripod removal nadir patching, you do not need to re-stitch the entire panorama. You can inject the required headers in seconds using command-line scripts or free desktop utilities.
Method A: Phil Harvey’s ExifTool (Terminal & Command Line)
ExifTool is the gold-standard open-source cross-platform tool for inspecting and rewriting metadata. Run the following command in PowerShell, Terminal, or Bash to embed universal Photo Sphere compliance:
Pro Tip: Injecting -Make="RICOH" -Model="RICOH THETA Z1" tricks aggressive legacy platforms (like Facebook and older web engines) into recognizing the file immediately as an authentic dual-fisheye single-shot 360 photo, bypassing strict manual file inspections (check our review of the Ricoh Theta Z1).
Method B: ExifFixer GUI (One-Click Desktop Tool)
If you prefer a visual interface, download the free utility ExifFixer (available for Windows and macOS). Simply drag your 2:1 JPEG into the window, verify that the width is exactly double the height, click “Add Metadata”, and save the file. The program automatically calculates full pixel boundaries and writes proper GPano tags.
Publishing 360 Photos on Facebook and Social Media
Meta platforms treat 360-degree photography differently depending on whether you upload through the desktop browser or mobile apps.
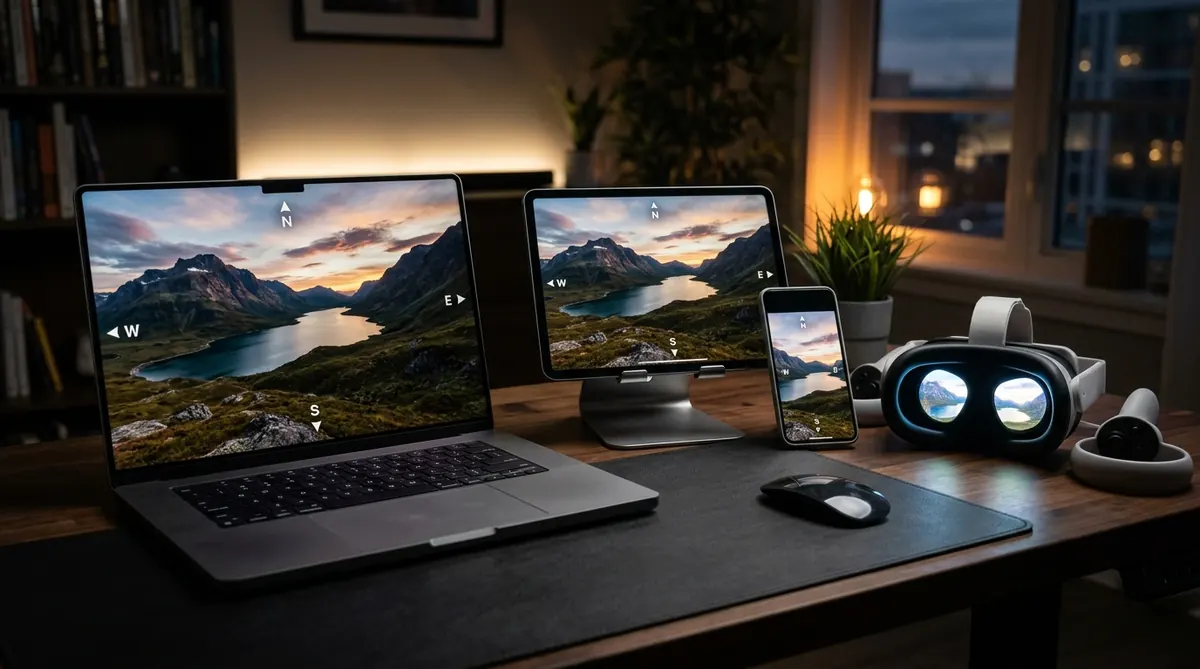
- Facebook Feed: Supports interactive spherical photos natively. When uploaded, a compass icon appears in the bottom right corner of the post preview, enabling followers to drag with their mouse on desktop or tilt their phone gyroscope on mobile.
- File Limits: Facebook enforces a maximum file size of 30MB for photos, and downsamples images exceeding 16,000 pixels wide. The optimal resolution sweet spot is 12,000 × 6,000 px at 85% JPEG compression to maximize clarity without triggering heavy artifact banding.
- Mobile App vs Mobile Web: Always publish directly through the official Facebook desktop website or native iOS/Android mobile apps. Uploading through a mobile browser (Chrome/Safari) strips spherical detection 90% of the time.
- Instagram & Threads: Neither Instagram nor Threads supports interactive spherical viewing. If you upload an equirectangular 2:1 image, it appears as a distorted flat landscape. See below for the motion-reframe video workaround.
Publishing to Google Maps and Google Street View
The workflow for adding 360 photography to Google Maps changed dramatically when Google retired the standalone Street View mobile app. Here is the modern protocol for placing photo spheres on Google Maps.
Option 1: Google Street View Studio (Desktop Web)
For video captures and walking trail blue lines, Google offers Street View Studio. This tool is designed primarily for continuous 360 video files (.mp4 with embedded CAMM or GPMF telemetry from cameras like the Insta360 X4 or Ricoh Theta X).
Option 2: Google Maps Business Listings (Single Spheres)
To publish standalone interior 360 photos for restaurants, retail stores, or tourist destinations:
- Ensure your 360 photo contains precise GPS coordinates in its EXIF metadata. You can verify this in Lightroom or inject GPS using ExifTool:
exiftool -GPSLatitude=xx.xxxx -GPSLongitude=yy.yyyy photo.jpg. - Open Google Maps on desktop, search for the specific business or landmark name.
- Scroll down the left-hand listing pane and click Add a photo.
- Upload your 2:1 equirectangular JPEG. If GPano metadata is present, Google Maps flags it with a 360 badge and publishes it to the public photo carousel within 24 to 48 hours.
Option 3: Professional Google Street View Integrators (GoThru & Pano2VR)
If you are shooting multi-room commercial virtual tours (e.g., real estate or commercial facilities) where nodes must link together with navigation arrows on Google Maps, manual uploading is insufficient. Commercial photographers use dedicated Street View publishing tools:
- GoThru — The industry-leading web platform for moderating, linking, and publishing constellation panoramas straight to Google Street View with constellation geometry mapping.
- Pano2VR Pro — Features a built-in Google Street View panel that connects directly to the Google Street View Publish API, allowing you to link navigation arrows, adjust compass headings, and submit directly from your desktop.
Hosting Virtual Tours on Dedicated Cloud Platforms
If your goal is commercial real estate, architecture portfolios, or interactive presentations, raw social uploads look unprofessional and lack branded lead generation. Dedicated virtual tour hosts offer interactive hotspots, floor plans, audio narration, and unbranded MLS links (explore our comprehensive guide to virtual tour software for real estate).
| Platform | Target Audience | Max Image Resolution | Key Strength | Pricing Tier |
|---|---|---|---|---|
| Kuula | Architects, Photographers, Real Estate | 16,384 × 8,192 px (134 MP) | Fastest WebGL engine, smooth mobile rendering, lens flare effects | Free / $20/mo Pro |
| CloudPano | Real Estate Agencies, Dealerships | Unlimited (Cloud Tiled) | White-label custom domains, VR live video chat, MLS syndication | $33/mo or Lifetime |
| Matterport | Commercial Facilities, Architecture | Proprietary Mesh / 4K/8K | Automated 3D Dollhouse, BIM/CAD file export, precise LiDAR floorplans | Free (1 space) / $10+ mo |
| Pano2VR | Power Users, Self-Hosters | Gigapixel Multi-Res | One-time software purchase, zero recurring hosting fees, full code control | Desktop License (€149+) |
| 3DVista Virtual Tour | Enterprise, Interactive Learning | Gigapixel Multi-Res | Offline desktop playback, integrated quizzing, animated live panoramas | One-time Software (€499) |
For independent photographers delivering client real estate jobs, Kuula offers the cleanest visual quality with custom branding, while CloudPano delivers dedicated marketing features like integrated checkout and video walkthroughs.
Embedding 360 Photos on Your Own Website or WordPress
Self-hosting 360-degree photography gives you complete visual freedom, zero platform branding, and lightning-fast local performance. You have three primary methods to embed spherical photos on WordPress or custom web pages.
1. Cloud Embeds via iFrame
The simplest method is hosting your equirectangular photos on Kuula or CloudPano and copying their responsive iFrame embed code directly into a WordPress Custom HTML block:
Benefits: Zero server bandwidth consumption, automated responsive scaling, hardware-accelerated gyroscope support on smartphones.
2. Open-Source Lightweight Javascript: Pannellum
If you prefer 100% self-hosted assets without external cloud dependencies, Pannellum is a 21kB open-source HTML5 WebGL panorama viewer. Simply include its CSS and JS from a CDN and link to your 2:1 JPEG:
3. Multi-Resolution Tiling for Gigapixel Panoramas
When displaying high-resolution panoramas stitched from DSLR cameras or high-megapixel sensors (e.g., 20,000 × 10,000 px at 40MB), loading a single giant JPEG will crash mobile Safari and Android Chrome due to GPU memory limits.
The solution is cubeface multi-resolution pyramid tiling. Software like Pano2VR cuts your equirectangular image into hierarchical cubic tiles (similar to Google Maps satellite view). The viewer only downloads the specific resolution tiles currently visible in the user’s viewport, delivering instantaneous zoom with zero memory lag.
Workarounds for Instagram, TikTok, and Non-360 Channels
Because platforms like Instagram, TikTok, and LinkedIn do not support interactive spherical viewing, posting an equirectangular image directly results in a terrible user experience. You can turn your 360 photo into high-performing social content using two proven methods:
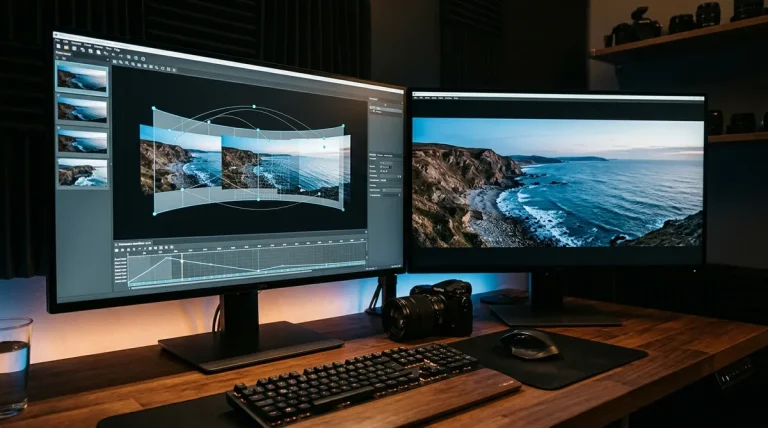
- Animated Reframe Video (MP4 / Reels): Import your equirectangular photo into desktop software like Insta360 Studio, Adobe Premiere Pro, or DaVinci Resolve. Set camera keyframes to start on a Little Planet view, zoom into the horizon, pan 360 degrees smoothly across the scene, and zoom back out. Export a 9:16 vertical 1080×1920 MP4 video. These motion tours regularly outperform static images on Instagram Reels and TikTok.
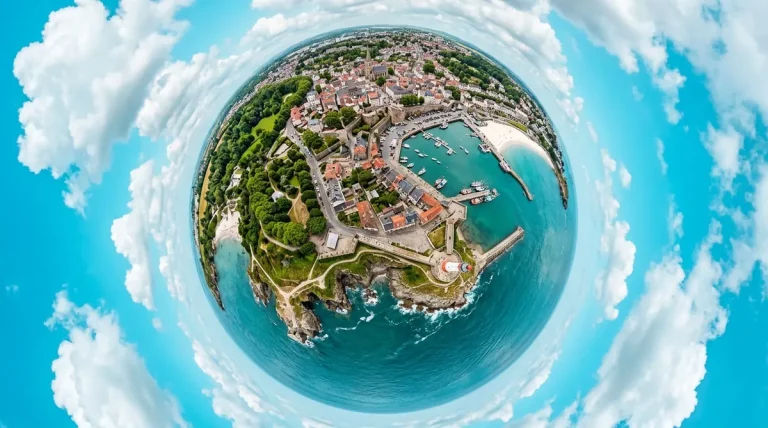
- High-Resolution Tiny Planet Export: In PTGui, Photoshop, or dedicated apps, apply a stereographic projection to warp your spherical panorama into an eye-catching circular sphere against the sky. Check out our detailed tiny planet photo tutorial for exact mathematical projection settings.
Pre-Publishing Quality Checklist
Run through this quick five-point pre-flight checklist before delivering your 360 photo to clients or publishing to public platforms:
1Nadir Cleaned: Ensure the tripod legs, shadow, and mounting head have been removed or covered with a clean viewpoint patch or branded zenith/nadir cap. Follow our complete step-by-step tripod removal nadir guide.
2Geometry Confirmed: Verify with image properties that the horizontal pixel dimension is exactly twice the vertical dimension (2:1 aspect ratio).
3Zenith Gap Filled: If captured via a drone without top-facing camera angles, ensure the blank zenith sky hole has been filled via AI generative fill or sky synthesis. See our drone panorama workflow.
4Color Space Set to sRGB: Panoramas exported in Adobe RGB or ProPhoto RGB will display washed-out, dull, or shifted colors in web browsers. Always convert to sRGB IEC61966-2.1.
5XMP Tags Validated: Confirm that GPano metadata tags are embedded using ExifTool or an online sphere previewer before submitting to Facebook or Google.
Frequently Asked Questions
Why does Facebook display my 360 photo as a flat, distorted rectangle?
Facebook only activates its 360° interactive viewer if two conditions are met: the image has an exact 2:1 aspect ratio and contains embedded Google Photo Sphere (GPano) XMP metadata. If you edited your panorama in Photoshop, Lightroom, or a mobile app, that software stripped the metadata upon export. Inject Make=RICOH, Model=RICOH THETA Z1, and ProjectionType=equirectangular using ExifTool or ExifFixer, then re-upload.
What is the optimal image resolution for publishing 360 photos online?
For Facebook, 12,000 × 6,000 px at 80-85% JPEG quality represents the ideal balance between extreme sharpness and file size under Facebook’s 30MB limit. For professional virtual tour platforms like Kuula or CloudPano, upload at 16,384 × 8,192 px. For gigapixel panoramas over 20,000 px wide, use Pano2VR to generate multiresolution tile pyramids so mobile devices don’t run out of memory.
How do I upload 360 photos to Google Maps after the Street View app was discontinued?
For individual business photo spheres, open Google Maps on desktop, search for the specific business listing, click ‘Add a photo’, and upload your GPS-geotagged 2:1 JPEG with GPano metadata intact. For interconnected commercial walking tours with navigation arrows, use approved third-party publishing tools like GoThru or Pano2VR Pro, which connect directly to Google’s Street View Publish API.
Can I post interactive 360-degree photos on Instagram?
No. Instagram does not support interactive WebGL spherical viewing. If you upload an equirectangular image, it displays as a flat, stretched, warped rectangle. The best practice for Instagram is to convert your 360 photo into a 9:16 vertical animated reframe video (pan-and-tilt motion tour) using Insta360 Studio or Premiere Pro, or export a striking stereographic Tiny Planet still.
What is the best free open-source viewer to embed 360 photos on WordPress?
Pannellum is the premier open-source HTML5 WebGL panorama viewer. It requires just 21kB of JavaScript, zero server-side processing, and supports mobile orientation and fullscreen desktop viewing. You can embed it on any WordPress page via a simple Custom HTML block without installing heavy or bloated third-party plugins.