If you have ever attempted to stitch a multi-frame panoramic photo only to find broken window frames, ghosted fence pickets, or double-exposed tree branches across the seam, you have encountered optical parallax. When researching solutions, you will inevitably hear about specialized panoramic tripod heads (also called nodal heads).
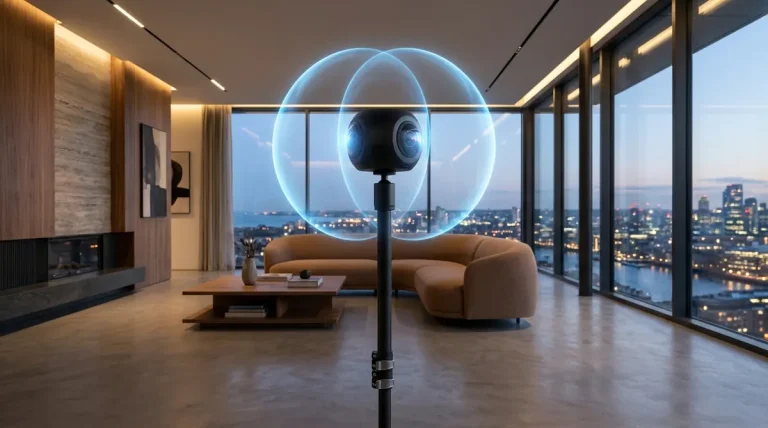
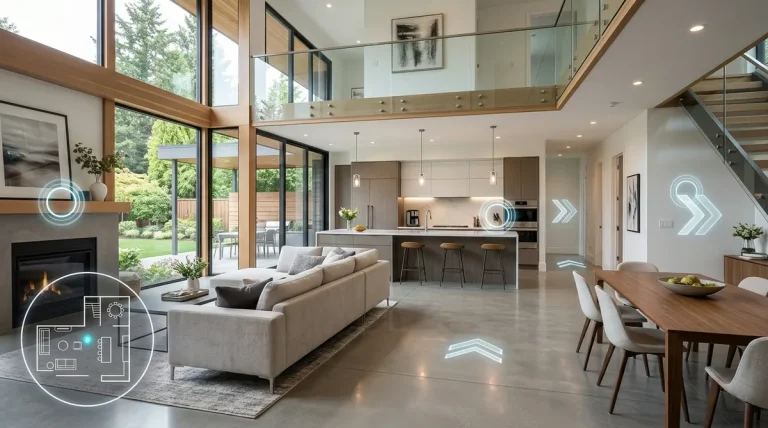
The Fast Answer: You do not need a panoramic head if you shoot distant outdoor landscapes, mountain ridges, or city skylines where the nearest object is more than 15 meters (50 feet) away — handheld or standard ball-head stitching works reliably. However, you absolutely do need a panoramic head if you shoot interior real estate, architectural photography, 360° virtual tours, or any scene containing foreground elements within 1 to 5 meters of the lens.
- 1. What a Panoramic Head Does & Parallax Physics
- 2. Do You Actually Need a Panoramic Head
- 3. Hardware Categories & Buyer Recommendations
- 4. Step-by-Step Calibration to Find the No-Parallax Point
- 5. Zero-Cost DIY Alternatives and Field Workarounds
- 6. Why Software Cannot Fully Fix Parallax Artifacts
- 7. Pre-Purchase and Calibration Checklist
- 8. Frequently Asked Questions
What a Panoramic Head Does and the Physics of Parallax
On a standard tripod ball head or pan-tilt head, your camera mounts via the 1/4-inch screw hole located on the bottom of the camera body. When you rotate the camera, the axis of rotation passes directly through the camera’s sensor or battery grip — several inches behind the lens optics.
As the camera swings left or right, the lens physically shifts along an arc in space. This physical displacement changes the viewpoint angle between nearby foreground objects and distant background elements. In optics, this shift is called parallax.
The Two-Finger Window Test
You can experience parallax right now without a camera:
- Hold your index finger upright about 30 cm (12 inches) in front of your face.
- Look at a vertical window frame, door edge, or wall corner in the distance, aligning your finger directly over it.
- Close your left eye, then close your right eye and open the left.
Your finger appears to jump dramatically to the side relative to the background. When your camera rotates off-axis on a ball head, adjacent frames record this exact same visual jump. Stitching software (PTGui or Autopano Giga) can align either the foreground finger OR the background window, but mathematically cannot align both at once, resulting in severed lines and blurry ghosting (check our full guide to panorama stitching problems and fixes).
Entrance Pupil (The Real Nodal Point)
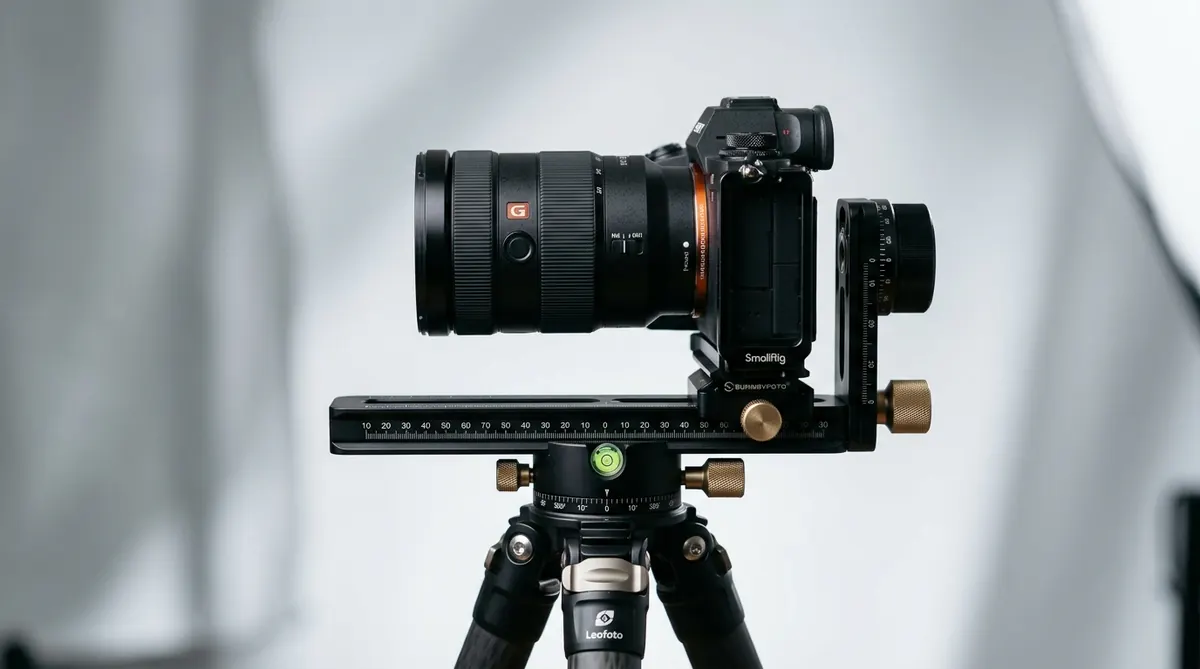
While photographers commonly refer to “nodal heads”, optical physicists clarify that the correct technical term is the center of the lens entrance pupil — the virtual image of the lens aperture iris as viewed through the front lens elements. A panoramic head uses sliding Arca-Swiss rails to reposition the camera backward and sideways until the rotation axis passes dead-center through this entrance pupil. When rotated around this exact point, near and far objects stay locked together with zero relative displacement.
Do You Actually Need a Panoramic Head
Investing in a dedicated panoramic head makes sense for specific commercial and creative applications, but is unnecessary for others. Consult this decision matrix:
| Photography Discipline | Distance to Nearest Object | Pano Head Required? | Reasoning & Recommended Setup |
|---|---|---|---|
| Interior Real Estate | 0.5m – 3m (Walls, Tables, Couches) | Mandatory (100%) | Extreme parallax from close interior structures makes seamless stitching impossible without a calibrated head. |
| 360° Spherical Virtual Tours | 0.3m – 2m (Tripod base, Floor, Doors) | Mandatory (100%) | Multi-row zenith and nadir shots must align with millimeter accuracy to produce clean 2:1 equirectangular projections (see our tripod removal guide). |
| Gigapixel Multi-Row Panos | Varies (10m – 1000m+) | Highly Recommended | Shooting 50 to 500+ telephoto frames demands rigid grid repetition and detent angle click-stops. |
| Landscape & Mountain Vistas | 20m – Infinity (Distant Peaks) | Optional / Not Needed | Parallax error approaches zero as distance increases. Handheld or standard ball-head rotation stitches cleanly (see our shooting discipline guide). |
| Milky Way Arch Panoramas | 10m+ (Landscape Horizon) | Helpful but Optional | Generous 50% overlap compensates for minor handheld shifts, though an indexer helps tremendously in pitch dark (see our Milky Way panorama guide). |
Hardware Categories and Buyer Recommendations
Panoramic hardware ranges from budget sliding plates to high-end modular gimbals and robotic units. Here are the three primary tiers:
1. Budget Single-Row Nodal Rails ($40 – $90)
If you only shoot single-row horizontal panoramas (such as panoramic landscape or architecture prints), you do not need a bulky multi-arm gimbal. A simple Arca-Swiss nodal slide mounted on top of a panning clamp attaches directly to your existing ball head.
- Top Choice: Neewer Panoramic Head Kits or Sunwayfoto nodal rails. These affordably provide a 200mm rail with millimeter laser engraving and bubble levels for under $75.
2. Professional Multi-Row Spherical Heads ($200 – $450)
For complete 360° × 180° virtual tours, multi-row real estate interiors, and gigapixel cityscapes, you need a dual-axis bracket with a vertical arm, tilt rotator, and detent rotator base that clicks into preset degree increments (e.g., 4 clicks at 90° for fisheye lenses, 6 clicks at 60° for ultra-wides).
- The Industry Benchmark: Nodal Ninja Series (NN3 / NN6 / Ultimate M2). Widely recognized as the gold standard for real estate and virtual tour professionals (pair with the best platforms from our virtual tour software guide). Features aircraft-grade aluminum, ultra-precise detent rings, and modular compatibility with all camera/lens combinations.
3. Motorized Robotic Panoramic Heads ($600 – $2,500+)
When capturing extreme gigapixel panoramas (1 to 50 gigapixels) using 400mm or 600mm telephoto lenses, rotating and triggering 500+ frames manually takes hours and leads to human error. Motorized heads automate the entire grid capture in minutes.
- Notable Systems: GigaPan Epic Pro Series and Seitz Roundshot VR Drive. Program the top-left and bottom-right corners of your scene, and the robotic servo motors systematically fire and step through the entire grid automatically.
Step-by-Step Calibration to Find the No-Parallax Point
Once you mount your camera on a panoramic head, you must calibrate the exact entrance pupil position for each lens. You only need to do this once per lens (or once per focal length for zoom lenses):
1Level Tripod and Base: Place your tripod on solid ground. Adjust legs until the bubble level on your tripod head rotator reads perfectly center through 360 degrees of rotation.
2Center the Camera Horizontally: Look down the vertical arm of the bracket. Adjust the upper horizontal slider until the center line of the lens barrel aligns perfectly over the center screw of the lower rotator.
3Set Up Near and Far Alignment Targets: Position your tripod indoors facing a window. Place a vertical target (e.g., a piece of tape or vertical stick) approximately 1 meter in front of the lens. Identify a distant vertical landmark outside (e.g., a flagpole, telephone pole, or building edge 20+ meters away) directly behind the near target.
4Rotate and Observe Relative Shift: Align near and far targets in the center of your viewfinder. Rotate the camera to the left until the targets sit at the far right edge of the frame. If the near target shifts right relative to the distant target, the camera is positioned too far forward. If it shifts left, the camera is too far back.
5Slide Rail to Lock Zero Parallax: Loosen the nodal slide clamp and move the camera along the rail until rotating left and right produces ZERO movement between near and far objects. Write down the millimeter marking engraved on the rail — that is your permanent No-Parallax Point for that lens.
Zero-Cost DIY Alternatives and Field Workarounds
If you are traveling light or caught on location without your panoramic head, two clever field hacks can dramatically reduce parallax errors for free:
- The “Philopod” String Technique: Tie a piece of thin nylon string around your lens barrel right at the estimated entrance pupil. Attach a small lead fishing weight or washer to the bottom of the string so it barely skims the ground. When shooting handheld, pivot your body in a circle while keeping the hanging weight hovering directly over the exact same pebble on the ground. This keeps the entrance pupil centered in space within millimeters.
- The Body Pivot Technique: When shooting handheld without a string, never rotate around your hips or feet. Instead, keep the camera lens stationary in space like a gyroscope, stepping your feet around the camera body so the camera acts as the center of rotation.
Why Software Cannot Fully Fix Parallax Artifacts
Stitching applications like PTGui have introduced advanced “Viewpoint Correction” algorithms that calculate planar perspective transforms to compensate for handheld shifts. While viewpoint correction works miracles on flat surfaces like nadir floors (see our tripod removal guide), software cannot restore occluded information.
If a tree trunk or chair leg shifted during rotation and physically covered a section of the wall behind it in Frame 1, but exposed it in Frame 2, the software has missing data. The stitcher must guess or warp pixels, leading to smeared textures, jagged lines, or ghosted silhouettes. Eliminating parallax at the capture stage with a calibrated panoramic head remains the only way to achieve flawless, professional results.
Pre-Purchase and Calibration Checklist
Before investing in hardware or heading out to client shoots, run through this five-point diagnostic checklist:
1Confirm Camera Clearance: Verify that the vertical arm of your spherical head has enough clearance for your camera body with battery grips or L-brackets installed.
2Audit Rotator Detent Rings: Check that your lower rotator includes detent stops matching your lens field of view (e.g. 4 clicks for 8mm fisheye, 6 clicks for 14mm, 10 clicks for 24mm).
3Record Rail Marks per Lens: Engrave or record rail millimeter measurements for every prime lens and primary zoom focal length in your camera bag.
4Leveling Base Check: Ensure your tripod setup includes an integrated leveling base so you can level the panning rotator in 5 seconds without adjusting individual tripod leg lengths.
5Zero Play in Clamps: Tighten all Arca-Swiss thumbscrews firmly to ensure heavy telephoto lenses do not droop or slip during vertical pitch shifts.
Frequently Asked Questions
What is the difference between a nodal point and the entrance pupil?
While photographers colloquially say ‘nodal point’, in optical physics the point around which rotation must occur is the center of the lens’s entrance pupil — the optical image of the aperture diaphragm viewed through front glass elements. Rotating around the true entrance pupil prevents parallax shifts between near and far objects.
Can I shoot real estate virtual tours without a panoramic head?
No. Real estate interiors are packed with close-range foreground elements like door jambs, countertops, and furniture situated within 1 to 2 meters of the lens. Without a calibrated panoramic head, severe parallax errors will tear walls and trim across the seams, rendering the virtual tour unusable on professional platforms.
How much does a dependable panoramic head cost?
A basic single-row nodal rail adapter for landscape photography costs between $40 and $90. Professional multi-row spherical gimbal heads (such as the industry-standard Nodal Ninja series) cost between $200 and $450. High-end automated motorized robotic heads for gigapixel photography start around $600 to $1,500+.
Do I need a panoramic head for outdoor landscape panoramas?
Usually no. If your nearest landscape element (such as trees or rocks) is more than 15 to 20 meters away, parallax displacement is so minuscule that standard ball-head rotation or careful handheld shooting stitches cleanly in PTGui or Lightroom.
Does zoom change the entrance pupil position on a zoom lens?
Yes. On zoom lenses, optical groups shift internally as you change focal lengths, causing the entrance pupil to migrate forward or backward along the lens barrel. You must calibrate and record separate rail millimeter markings for each focal length you plan to stitch (e.g., 24mm, 35mm, 50mm, 70mm).